
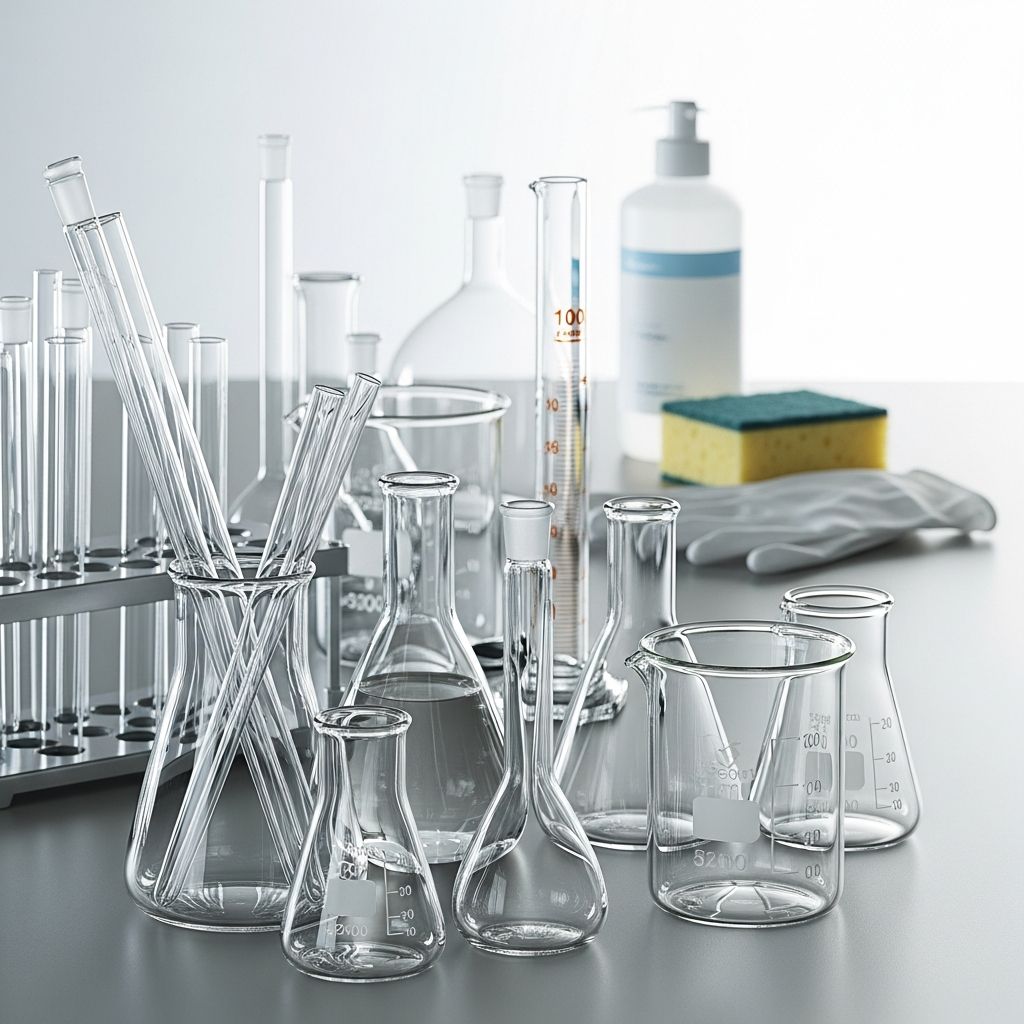
Laboratory glassware forms the backbone of scientific experimentation, demanding impeccable cleanliness to prevent contamination and ensure precise results. Proper cleaning removes residues that could skew data, compromise reactions, or foster microbial growth. This guide outlines systematic approaches to achieve spotless glassware, drawing on established protocols for everyday use and challenging scenarios.
Why Clean Glassware Matters in Scientific Work
Maintaining pristine glassware directly impacts experimental integrity. Residues from prior uses, such as salts, oils, or chemicals, can catalyze unintended reactions or inhibit processes. For instance, trace organics might interfere with sensitive assays, while inorganic deposits could alter pH levels. Regular, thorough cleaning extends equipment lifespan and upholds safety standards in labs handling hazardous materials.
New glassware often arrives with a slight alkaline film from manufacturing, necessitating an initial acid soak to neutralize it before first use. Delaying cleaning allows residues to harden, making removal exponentially harder. Immediate post-use rinsing prevents this, setting the stage for effective decontamination.
Essential Tools and Materials for Effective Cleaning
Gather specialized items to streamline the process:
- Detergents: Phosphate-free options like 2% laboratory-grade solutions dissolve water-soluble grime without leaving traces.
- Brushes: A variety sized for beakers, flasks, pipettes, and test tubes; opt for non-scratch nylon or soft bristles.
- Rinse Agents: Deionized (DI) or distilled water, solvents like ethanol or acetone for organics.
- Soaking Solutions: Mild acids (e.g., 10% HCl) for salts; avoid abrasives that etch surfaces.
- Safety Gear: Gloves, goggles, lab coats; fume hoods for volatiles.
- Drying Aids: Lint-free wipes or oven racks for air-drying.
Stock a dedicated cleaning station with these to minimize downtime.
Step-by-Step Basic Cleaning Protocol
Follow this sequence for routine maintenance:
- Pre-Rinse Immediately: Flush with tap water to dislodge loose debris. Dispose of rinsate in labeled waste containers.
- Apply Detergent: Soak in warm 2% detergent solution for 10-30 minutes. Scrub interiors and exteriors thoroughly.
- Tap Water Rinse: Run water through pieces 5-6 times, filling, shaking, and emptying to ensure coverage.
- DI Water Final Rinse: Repeat 3-12 times, observing for uniform sheeting—droplets signal residue.
- Dry and Store: Air-dry inverted in a dust-free hood; wrap or foil sensitive items.
For pipettes and burettes, use siphons or pipette rinsers to flush thoroughly.
Handling Specific Contaminants: Tailored Strategies
Different residues require targeted treatments. Use this table for quick reference:
| Contaminant Type | Recommended Cleaner | Rinse Sequence | Safety Notes |
|---|---|---|---|
| Water-Soluble Salts | Detergent soak | Tap → 3x DI | Gloves; heat if stubborn |
| Organic Oils/Greases | Ethanol/Acetone | DI after solvent | Fume hood; flammable |
| Acids | Neutralize with base, then DI | Multiple DI rinses | Exothermic risk; PPE |
| Bases | Neutralize with acid, then DI | Multiple DI rinses | Exothermic risk; PPE |
| Heavy Metals | Chelating agents or dilute HCl | DI with chelators | Toxic; full PPE |
| Biological Matter | Detergent boil + autoclave | Tap → DI | Biohazard protocols |
Adapt based on analysis needs—e.g., skip acids for chloride-sensitive work.
Advanced Cleaning for Stubborn Residues
Exceptionally soiled items demand escalation. For etched or clouded glass:
- Acid Bath Soaking: Immerse overnight in 10-25% HCl or nitric acid. Agitate to remove air pockets, ensuring full submersion. Rinse extensively post-soak.
- Abrasive Powders: Mild formulas for grease; scrub gently to avoid scratches.
- Chromic Acid (Caution): Effective for organics but hazardous—use only if alternatives fail, under fume hood with PPE.
- Ultrasonic Baths: For intricate pieces; combine with detergent for cavitation-enhanced cleaning.
Post-treatment, verify cleanliness via water break test: clean surfaces form a continuous film.
Sterilization Methods for Contaminated Glassware
Biological hazards require sterilization pre-cleaning:
- Autoclaving: Standard for heat-tolerant items; 121°C for 15-30 min.
- Boiling: 1-2% detergent solution for 30 minutes covers pipettes and dishes.
- Dry Heat: Muffle oven at 180°C for metal-free assurance.
- Chemical: Ethanol dips for quick surface sterilization.
Always follow with full cleaning to remove sterilants.
Safety Protocols During Cleaning Operations
Prioritize hazard mitigation:
- Work in well-ventilated areas; use hoods for solvents/acids.
- Wear nitrile gloves, safety goggles, closed shoes.
- Neutralize wastes before disposal; segregate by type.
- Label all solutions; avoid mixing incompatibles.
- Handle glass carefully to prevent breakage—use padded bins.
Labs must train per waste management SOPs.
Automated and Efficient Cleaning Systems
Scale up with:
- Dishwashers: Lab-grade models with validated detergents; cycle per manufacturer specs.
Pipette Washers:
Baskets cycle through detergent, tap, and DI rinses automatically.
- Oven Drying: Convection ovens for rapid, sterile drying.
These save time while maintaining quality.
Storage and Long-Term Maintenance Tips
Post-cleaning preservation is key:
- Store dry, dust-free in cabinets.
- Wrap foil over openings for volatiles-sensitive work.
- Inspect periodically for cracks or films.
- Rotate stock to use oldest first.
Track cleaning history in logs for traceability.
Frequently Asked Questions (FAQs)
Q: How do I test if glassware is truly clean?
A: Perform the water break test—tilt and observe; clean glass sheets water evenly without beading.
Q: Can I use household dish soap for lab glassware?
A: No; it leaves residues affecting experiments. Use lab-specific, phosphate-free detergents.
Q: What’s the best way to clean new glassware?
A: Soak in 1% HCl or nitric acid several hours, then follow standard protocol to remove alkaline film.
Q: Is chromic acid still recommended?
A: Rarely, due to toxicity; prefer safer alternatives like HCl or detergents unless essential.
Q: How often should I acid-wash glassware?
A: Only as needed, e.g., for trace analysis; routine use suffices for most.
Q: What if tap water is hard?
A: Deionize it first or rely solely on DI for final rinses to prevent mineral deposits.
This comprehensive approach ensures lab glassware supports reproducible science. Implement these techniques to elevate your lab’s standards.
References
- How to Clean Lab Glassware — Pipette.com. 2023. https://pipette.com/blog/cleaning-lab-glassware
- All About Cleaning and Maintaining Laboratory Glassware — ScienceFirst. 2022. https://www.sciencefirst.com/all-about-cleaning-and-maintaining-laboratory-glassware/
- Cleaning Laboratory Glassware — IsoLab, University of Washington. 2024. https://isolab.ess.washington.edu/SOPs/cleaning-lab-glassware.php
- Cleaning Laboratory Glassware — Sigma-Aldrich (MilliporeSigma). 2023-04-15. https://www.sigmaaldrich.com/US/en/technical-documents/protocol/chemistry-and-synthesis/reaction-design-and-optimization/cleaning-glassware
- Laboratory Glassware Cleaning and Storage — University of Nebraska-Lincoln Water Sciences Laboratory. 2021. https://watersciences.unl.edu/sites/unl.edu.ianr.nebraska-water-center.water-sciences-laboratory/files/media/file/Glassware%20Cleaning.pdf

Medha Deb is an editor with a master's degree in Applied Linguistics from the University of Hyderabad. She believes that her qualification has helped her develop a deep understanding of language and its application in various contexts. Medha specializes in the areas of beauty, health, sports, and wellness and is committed to ensuring that the content on the website is…