
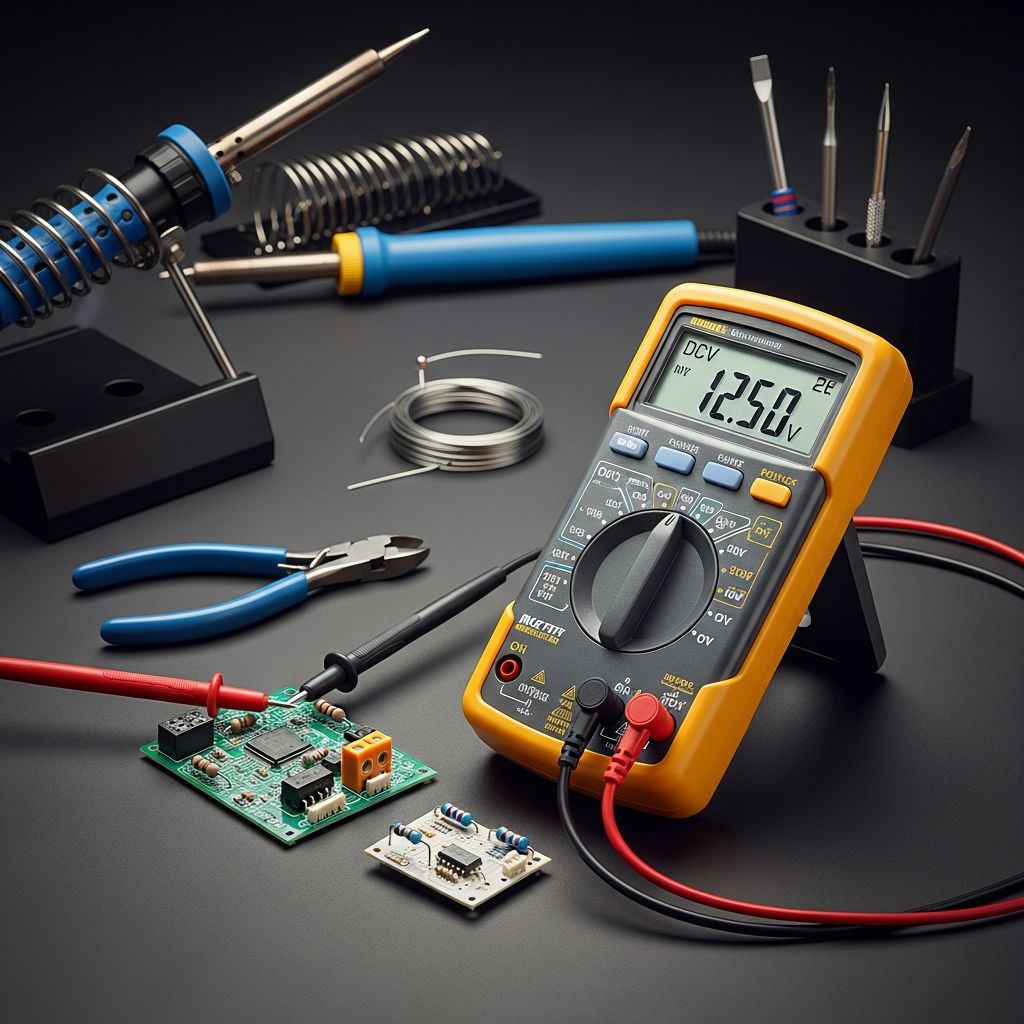
A multimeter is an indispensable tool for anyone working with electrical systems, from hobbyists to professional electricians. This versatile device measures key electrical properties like voltage, current, and resistance, helping diagnose issues in circuits, batteries, and appliances. Understanding its components and functions empowers you to perform safe, accurate tests.
Understanding Multimeter Basics
Multimeters come in digital and analog varieties. Digital models display numerical readings on an LCD screen, offering precision and ease of use. Analog versions use a needle pointer on a scale, which can be useful for observing trends but requires careful interpretation.
Core components include:
- Display: Shows measurement values and units. Digital screens often include backlighting for low-light conditions.
- Selection Knob: Rotates to choose measurement type (voltage, current, resistance) and range.
- Ports: Input jacks for test probes. Always identify them correctly to avoid damage.
- Probes: Red and black leads with metal tips for contacting circuits.
Selecting the right multimeter depends on your needs. Basic models handle voltage, current, and resistance. Advanced ones add capacitance, frequency, and diode testing. Prioritize accuracy ratings, typically ±1-2% for reliable results.
Identifying Multimeter Ports and Probes
Proper port usage prevents damage and ensures accurate readings. Standard multimeters feature three main jacks:
| Port Label | Color | Purpose |
|---|---|---|
| COM (Common) | Black | Ground or neutral connection for all measurements. |
| VΩmA | Red | Voltage, resistance, and low-current (milliamps) tests. |
| 10A | Red | High-current measurements up to 10 amps (use sparingly). |
Some models include a 300mA port for precise low-current readings. The black probe always goes into COM. Red probe placement varies by function. Probes are insulated with exposed tips; use caution around live circuits.
Safety Protocols Before Testing
Safety is paramount. Electricity can cause shocks, burns, or fires. Key rules:
- Turn off power sources before connecting probes to outlets or components.
- Wear insulated gloves and eye protection.
- Verify correct range settings to avoid overload.
- Disconnect probes in reverse order: live (red) first, then common (black).
- Never exceed the multimeter’s rated limits (e.g., 600V for household use).
Work in dry environments and inspect leads for frays. If measuring live circuits, use one hand only to minimize shock risk.
Step-by-Step: Measuring DC Voltage
DC voltage testing is ideal for batteries and electronics. Follow these steps:
- Insert black probe into COM and red into VΩ port.
- Turn knob to DCV (straight line symbol) and select a range higher than expected voltage (e.g., 20V for 9V battery).
- Touch black probe to negative (-) terminal, red to positive (+).
- Read the display. Positive reading confirms polarity; negative indicates reversed probes.
- Remove red probe first, then black.
Example: Testing a AA battery should yield ~1.5V. ‘1’ on display means overload—adjust range up.
Measuring AC Voltage in Household Outlets
AC voltage powers homes (120V US standard). Test outlets safely:
- Power off circuit if possible.
- Set to ACV (wavy line), range above outlet rating (200V+).
- Black probe to COM, red to VΩ.
- Insert black into wider (neutral) slot, red into narrower (hot) slot.
- Expect 110-120V. Zero reading may indicate tripped breaker.
For appliances, match range to label (e.g., 120V for small devices).
Testing Resistance (Ohms) Accurately
Resistance measures opposition to current flow, vital for components like resistors.
- Power off and disconnect the component completely—no live current.
- Set knob to Ω symbol, matching resistor’s labeled value if known.
- Touch probes to component ends.
- Reading near labeled ohms confirms functionality; infinite (OL) means open circuit.
Probes touching each other should read ~0Ω (short).
Measuring Current: Amps and Milliamps
Current requires breaking the circuit—probes in series.
Low Current (Milliamps)
- Set to mA, probes in COM and mA port.
- Cut wire or use breadboard; connect probes inline.
- Power on; read display.
High Current (10A)
- Switch to 10A port/setting (often manual range).
- Limit to 10A max, 10-30 seconds.
Warning: Incorrect port can blow internal fuse.
Continuity and Diode Checking
Continuity beeps for complete paths (e.g., fuses). Set to diode/continuity symbol; beep at <50Ω. Diode mode shows forward voltage drop (~0.6V silicon).
Advanced Functions: Capacitance and Frequency
Many multimeters measure capacitance (F) for capacitors and frequency (Hz) for AC signals. Set accordingly, discharge capacitors first. Temperature probes add versatility.
Troubleshooting Common Multimeter Issues
Problems and fixes:
- No display: Check batteries.
- ‘1’ or OL: Wrong range or open circuit.
- Inaccurate readings: Dirty probes or auto-ranging issue—manual override helps.
- Fuse blown: High current misuse; replace with exact rating.
Calibrate periodically against known sources.
Choosing Your First Multimeter
Budget: $20-50 for beginners (e.g., auto-ranging digital). Features: CAT III rating for safety, true RMS for accurate AC. Brands like Fluke excel in durability.
Frequently Asked Questions (FAQs)
What is the difference between AC and DC voltage?
DC flows steadily (batteries); AC alternates (outlets). Symbols: straight vs. wavy line.
Can I measure current without breaking the circuit?
No, current needs series connection. Use clamp meters for non-invasive.
How do I know if my multimeter is accurate?
Test known values: 1.5V battery, 10kΩ resistor. Check specs for tolerance.
Is it safe to test live outlets?
Yes, with precautions: rated multimeter, correct settings, one hand rule.
What does ‘true RMS’ mean?
Accurately measures distorted AC waveforms, unlike basic averages.
Practical Projects to Practice
Project 1: Battery Tester. Check household batteries; replace below 1.2V.
Project 2: Outlet Verifier. Confirm wiring; hot-neutral-ground integrity.
Project 3: Resistor Sorter. Verify values for kits.
These build confidence for Arduino, repairs.
References
- How to Use a Multimeter — The Home Depot. 2023-09-07. https://www.homedepot.com/c/ah/how-to-use-a-multimeter/9ba683603be9fa5395fab90d6f3ffa5
- Comprehensive Guide: How to use a Multimeter — NTI. N/A. https://ntinow.edu/how-to-use-a-multimeter/
- How to Use a Multimeter — SparkFun Learn. N/A. https://learn.sparkfun.com/tutorials/how-to-use-a-multimeter/all
- How to Use a Multimeter – Beginner’s Guide — Random Nerd Tutorials. N/A. https://randomnerdtutorials.com/how-to-use-a-multimeter/
- How to Use a Multimeter: A Comprehensive Guide — Fluke Corporation. N/A. https://www.fluke.com/en-us/learn/blog/maintenance-monitoring/how-to-use-a-multimeter-guide

Medha Deb is an editor with a master's degree in Applied Linguistics from the University of Hyderabad. She believes that her qualification has helped her develop a deep understanding of language and its application in various contexts. Medha specializes in the areas of beauty, health, sports, and wellness and is committed to ensuring that the content on the website is…