
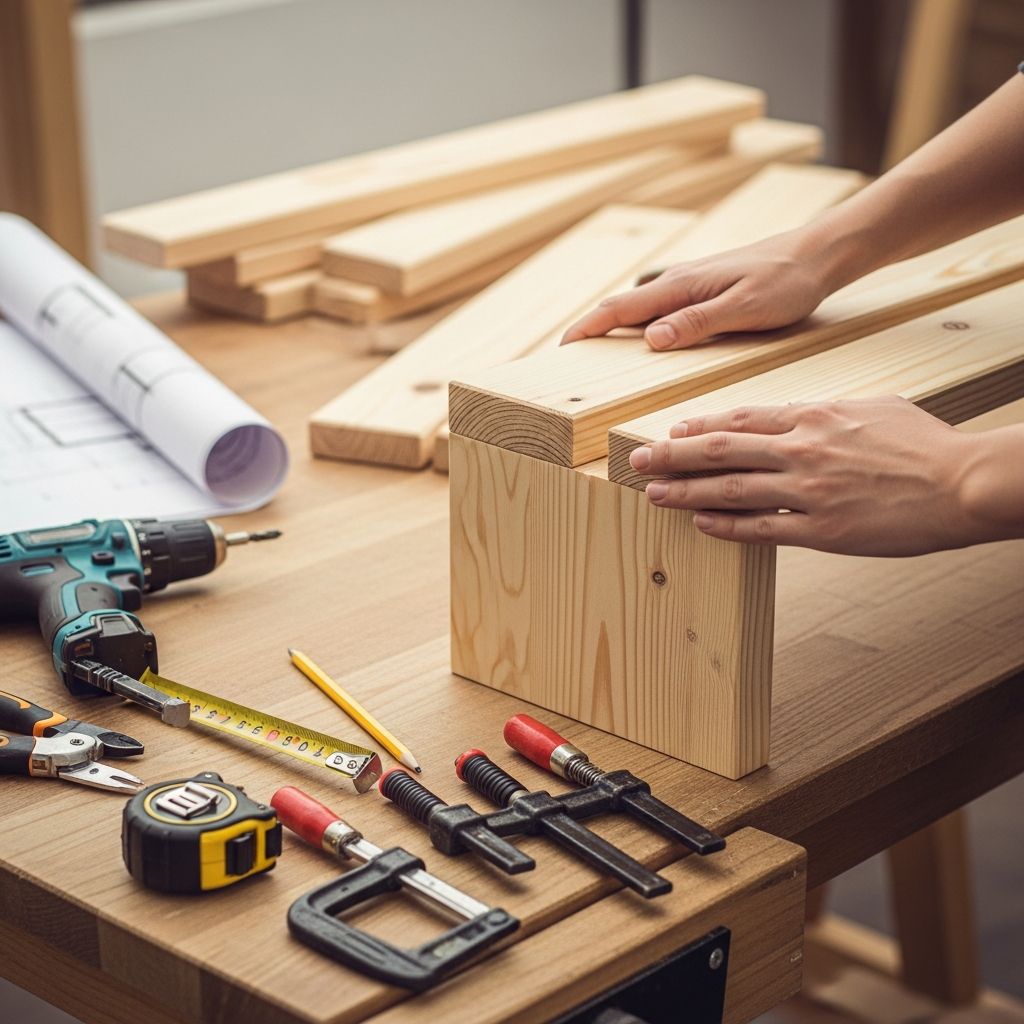
Constructing a basic wooden table is an accessible woodworking project that yields practical results. With minimal tools and affordable materials, anyone can produce a sturdy piece of furniture suitable for dining, workspaces, or side tables. This guide outlines every phase from material selection to final touches, ensuring stability and aesthetic appeal.
Planning Your Table Design
Before cutting any wood, define the table’s purpose, size, and style. Consider dimensions: a standard side table might measure 18-24 inches high with a 24-inch diameter top, while a dining table could be 30 inches high and 36-48 inches wide. Sketch a basic blueprint noting leg height, top thickness, and brace placements for balance.
- Measure the space where the table will reside to avoid oversized builds.
- Decide on shape: round tops offer safety for homes with children; rectangular provides more surface area.
- Account for leg spread to prevent wobbling—aim for legs positioned 8-12 inches from edges.
Stability hinges on even weight distribution. Use graph paper for precise scaling, calculating wood quantities accordingly. For a beginner project, opt for a round top from plywood, supported by four angled legs with cross-braces.
Essential Materials and Tools
Gather items suited to a novice build. Prioritize safety gear like gloves, goggles, and dust masks.
| Category | Items | Purpose |
|---|---|---|
| Wood | 4×4-foot plywood sheet (1/2-inch thick minimum); 8 linear feet of 2×4 lumber for legs and braces | Tabletop and structural supports |
| Fasteners | 4.5-inch deck screws (8-12); 1.5-inch wood screws (20+); wood glue; L-brackets (4-8) | Secure joints and reinforcements |
| Tools | Circular saw or jigsaw; drill with bits; tape measure; pencil; clamps; sandpaper (120-220 grit) | Cutting, measuring, assembling |
| Finishing | Wood oil or stain; polyurethane sealant; paintbrushes or rags | Protect and beautify surface |
These components support a table holding 50-100 pounds. Adjust for heavier loads by using thicker plywood or adding aprons—horizontal supports between legs.
Step 1: Crafting the Tabletop
Start with the visible centerpiece. For a round top:
- Locate the plywood’s center using crossed diagonals.
- Tie string to a pencil, adjusting length to desired radius (e.g., 12 inches).
- Anchor string at center, trace circle firmly.
- Secure wood, don safety gear, cut along line with jigsaw—steady hands prevent jagged edges.
Sand edges smooth immediately. For rectangular tops, measure and mark straight lines, cutting with a circular saw guided by a clamped straightedge. Test flatness on a level surface; plane high spots if bowing occurs.
Pro tip: If plywood is thin, reinforce underside with 1×2 battens screwed along edges to prevent sagging.
Step 2: Preparing the Legs and Feet
Legs provide height and strength. Cut four primary legs to uniform length (e.g., 24-28 inches).
- From 2x4s, rip narrower if desired for slimmer profile.
- Shape feet: cut leg stock into bases (3-4 inches square) for floor stability.
- Angle cuts optional for elegance—use miter saw at 5-10 degrees.
Attach feet flush to leg bottoms using glue and 2.5-inch screws pre-drilled to avoid splitting. For extra thin tops, fashion spacers: cut 2x4s into 4-inch blocks to bridge leg-to-top gap securely.
Step 3: Assembling the Base
Construct a robust frame before attaching top.
- Pair legs into sets, joining with cross-braces (aprons) cut to span between them.
- Position braces 6-8 inches from floor and top; angle slightly inward for taper effect.
- Drill pilot holes, apply glue, secure with screws. Add L-brackets at corners for rigidity.
Check squareness with a framing square; tap gently to align. This H- or X-brace configuration resists racking.
Step 4: Attaching Legs to Top
Flip tabletop face-down on soft surface.
- Position legs equally spaced (10 inches inset from edges for round top).
- Mark footprints; apply glue to leg tops and spacers.
- Pre-drill and screw through top into legs/spacers (4-6 screws per leg).
- Reinforce with L-brackets on underside, angled screws into leg sides.
Flip upright, test wobble—shim uneven legs. Full assembly takes 1-2 hours.
Sanding and Smoothing for Professional Finish
Sanding elevates amateur work to pro level.
- Begin with 120-grit paper on orbital or belt sander for bulk removal.
- Progress to 220-grit by hand on details, following grain.
- Round sharp edges slightly for comfort and durability.
- Vacuum dust thoroughly before finishing.
Focus on high-touch areas like top edges.
Applying Finishes for Protection and Style
Seal against moisture and wear.
- Wipe on tung or Danish oil for natural sheen; reapply 2-3 coats.
- For durability, brush polyurethane (satin sheen ideal); sand lightly between coats.
- Stain first for color depth, testing on scraps.
Dry 24-48 hours per coat. Avoid over-application to prevent drips.
Customization Ideas to Personalize Your Build
Adapt for uniqueness:
- Painted accents: Prime and color legs contrasting top.
- Live edge: Use natural slab for tabletop rustic vibe.
- Expandable: Add leaves with dowels for dining flexibility.
- Metal accents: Hammered brackets or hairpin legs for modern twist.
Scale up for console tables by elongating top and braces.
Common Mistakes and Troubleshooting
Avoid pitfalls:
| Issue | Solution |
|---|---|
| Wobbly table | Shim legs; tighten braces; ensure square joints |
| Split wood | Always pre-drill; use soap on screws for lubricity |
| Uneven top | Plane or sand bowing; reinforce thin stock |
| Finish bubbles | Sand smooth, thin coats; good ventilation |
Measure twice, cut once—patience prevents waste.
Frequently Asked Questions (FAQs)
What wood is best for a beginner table?
Plywood for tops due to stability; pine or poplar 2x4s for legs—affordable and easy to work.
How much does this project cost?
$30-60 for materials; tools extra if not owned. Shop sales or repurpose scrap wood.
Can I make it without power tools?
Yes—handsaw, chisel, mallet suffice, though slower. Focus on straight cuts.
Is wood glue necessary?
Highly recommended for joint strength; screws alone may loosen over time.
How long until first use?
Assembly: 2-4 hours; drying: 48 hours minimum for finishes.
Safety Guidelines for Woodworking
Protect yourself:
- Wear goggles, gloves, ear protection.
- Secure workpieces; unplug tools when adjusting.
- Work in ventilated area; store sharp blades safely.
- Keep children/pets away during construction.
These practices minimize risks in home shops.
References
- Making a Simple Table — Instructables. Accessed 2026. https://www.instructables.com/Making-a-Simple-Table/
- Free Table Maker — Canva. Accessed 2026. https://www.canva.com/graphs/tables/
- How to make a basic table — YouTube (Woodworkers Journal). Accessed 2026. https://www.youtube.com/watch?v=dwHQK2pQb74
- Simple Table Build — My Repurposed Life. 201X. https://www.myrepurposedlife.com/simple-table-build/
- Building a Basic Small Table — YouTube (WoodworkersJournal). Accessed 2026. https://www.youtube.com/watch?v=RgRP85qfrJ0
- Building a simple table, in pictures — Woodgears.ca. Accessed 2026. https://woodgears.ca/table/simple.html
- How to make a simple table — YouTube (MatthiasWandel). Accessed 2026. https://www.youtube.com/watch?v=jFPLFyxkhzc

- Integrated M.A. in Applied Linguistics, University of Hyderabad
- 5+ years in editorial, instructional, SEO, and research-based writing
Sneha is a relationships and lifestyle writer with a strong foundation in applied linguistics and certified training in relationship coaching. She brings over five years of writing experience to theskillvault, crafting thoughtful, research-driven content that empowers readers to build healthier relationships, boost emotional well-being, and embrace holistic living. Her writing and insights reflect the belief that beauty, happiness, and wellness…