
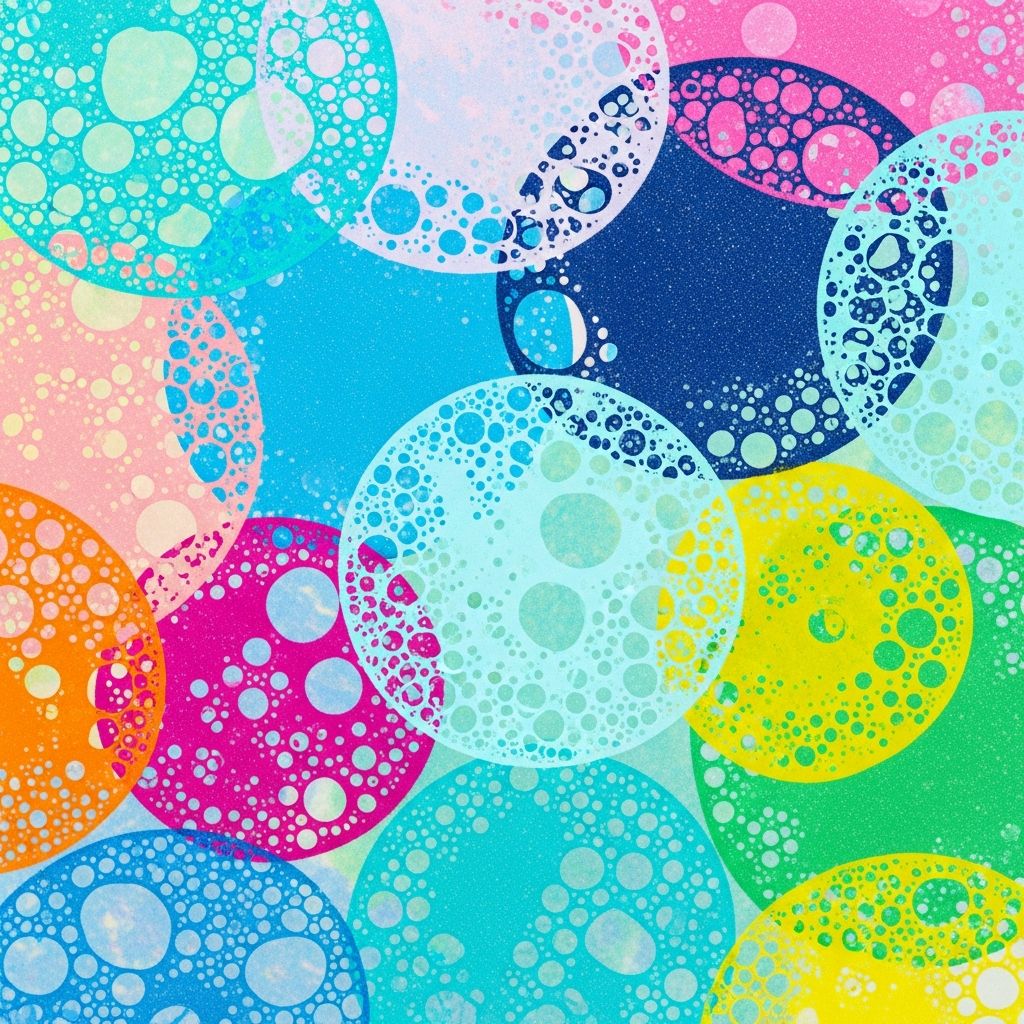
Bubble print art transforms ordinary bubbles into extraordinary artwork through a playful process involving soap, paint, and paper. This accessible craft encourages experimentation with colors and textures, yielding abstract patterns that captivate children and adults alike.
Why Bubble Printing Captivates Creators
The magic of bubble printing lies in its unpredictability; each burst leaves behind circular motifs with delicate edges and vibrant hues. Unlike traditional painting, this method relies on the natural foam structure of bubbles to dictate the design, fostering creativity without rigid guidelines. It’s an excellent introduction to process art, where the journey of making matters more than the final product.
Participants often find therapeutic value in the repetitive blowing and printing, combining physical activity with artistic expression. Schools and community centers use it to teach color theory, as overlapping prints demonstrate mixing principles in real time. The technique’s low cost—requiring mainly dish soap, water, tempera paint, straws, and paper—makes it ideal for classrooms or home setups.
Essential Materials for Success
Gathering the right supplies ensures smooth sessions. Start with wide-rimmed cups or bowls to allow bubbles to rise freely. Sturdy paper, such as watercolor or cardstock, holds up to moisture better than printer paper.
- Dish soap or washing-up liquid for stable foam
- Tempera or liquid watercolor paints for vivid colors
- Drinking straws (plastic or paper for eco-friendliness)
- Shallow containers like bowls or trays
- Absorbent paper sheets
- Optional: Protective smocks, trays for mess containment
Prepare a workspace with newspaper or plastic sheeting, as splatters are inevitable. For safety with young children, modify straws by cutting a small notch near the top to prevent accidental ingestion of the mixture.
Basic Recipe for Bubble Solution
The foundation of great prints is a well-balanced mixture. A reliable ratio starts with water as the base, enhanced by soap for foam and paint for color.
| Ingredient | Amount (for one cup) | Purpose |
|---|---|---|
| Water | 1/2 cup | Dilutes and carries color |
| Dish soap | 2-3 tablespoons | Creates durable bubbles |
| Paint | 1-2 tablespoons | Adds pigment; adjust for intensity |
Combine in a cup, stirring gently to avoid premature bubbles. Test small batches to perfect vibrancy—too much water fades prints, while excess paint thickens the foam.
Step-by-Step Guide to Classic Bubble Prints
Follow these steps for your first masterpiece.
- Mix the solution: Pour water into a bowl, add soap and paint, stir with a straw.
- Blow bubbles: Insert straw to the bottom and blow steadily until foam overflows the rim. Controlled breaths prevent spills.
- Print: Lay paper gently over the bubbles, pressing lightly until it touches the rim. Lift slowly to capture intact circles.
- Repeat: Allow bubbles to pop naturally on paper for darker outlines. Reload and print multiple layers.
- Dry: Air-dry flat; prints set in minutes.
For variety, use multiple bowls of different colors, printing sequentially to build layered effects.
Advanced Variations to Elevate Your Art
Once comfortable, explore techniques for complexity.
Layered Color Overprints
Print one color five to six times, then switch to another. Overlaps create depth, mimicking watercolor bleeds. Extend prints off the paper’s edge for dynamic borders.
Foam Painting Method
Generate foam with a sponge in paint-soap mix, spread on glass or tray, then print paper atop. This yields textured, irregular patterns.
Bubble Wand Creations
Dip wands or bundled straws into solution and blow directly onto paper, bypassing containers for freeform designs.
Themed Compositions
Combine with stencils or add elements like drawn fish for underwater scenes. Use black paint stamps for contrasting bubbles.
Experiment with foam thickness: Thicker mixes produce bolder prints, ideal for cards or murals.
Safety Tips for Family Fun
Prioritize precautions, especially with kids. Notch straws as mentioned, supervise closely, and use non-toxic paints. Avoid ingestion by keeping mixtures out of reach. Clean up promptly to prevent slips on soapy floors.
For larger groups, assign stations per color to streamline sharing. Eco-tip: Opt for biodegradable soaps and recycle paper scraps into collages.
Transforming Prints into Finished Projects
Bubble art shines in applications beyond the page.
- Cards and Tags: Trim dried prints for greetings or bookmarks on cardstock.
- Murals: Tape sheets together for wall-sized displays.
- Collages: Cut circles for mosaic scenes.
- Laminates: Seal for durable coasters or ornaments.
These projects extend engagement, turning one session into lasting keepsakes.
Troubleshooting Common Issues
Encounter weak bubbles? Add more soap. Faint colors? Increase paint concentration. Paper tearing? Switch to thicker stock. Bubbles deflating fast? Use fresh soap and blow gently.
| Problem | Solution |
|---|---|
| Bubbles won’t form | Increase soap ratio; stir less |
| Colors too pale | Add more paint; use less water |
| Paper soggy | Press briefly; use absorbent paper |
| Uneven prints | Blow until foam peaks evenly |
Benefits for Child Development
Bubble printing boosts fine motor skills through straw control and paper handling. It enhances scientific understanding of bubbles’ properties and artistic appreciation via color blending. The sensory aspect—tactile foam, visual pops—engages multiple senses, promoting focus and joy.
Educators note improvements in patience as kids await drying and layering. It’s inclusive, adaptable for various abilities with minimal hand strength required.
Seasonal and Holiday Twists
Adapt for occasions: Red-green bubbles for holidays, pastels for spring. Glow paints under blacklight add nighttime flair. Group activities build community during playdates.
Frequently Asked Questions (FAQs)
What age is bubble printing suitable for?
Ideal for ages 3+, with supervision. Younger toddlers can observe or use wands.
Can I use acrylic paints?
Yes, but thin with water; tempera is safer and easier for beginners.
How long do prints last?
Indefinitely if sealed; display away from direct sun to prevent fading.
Is cleanup difficult?
Moderate; soap rinses easily, but protect surfaces beforehand.
Alternatives to straws?
Bubble wands, pipettes, or electric blowers for volume.
Expanding Your Bubble Art Repertoire
Progress to 3D by printing on fabric for tote bags or blowing larger bubbles in trays for panoramic views. Integrate with nature: Add leaves under paper for hybrid prints. Digital twist: Scan and edit prints for wallpapers.
This craft’s versatility ensures endless reinvention, keeping creativity bubbling over.
References
- Bubble Painting Recipe — TinkerLab. 2023-05-15. https://tinkerlab.com/bubble-paint-recipe/
- Bubble printing instructions — Community Playthings. 2022-08-10. https://www.communityplaythings.co.uk/learning-library/articles/bubble-printing
- Bubble Printing Technique — Art with Mrs. (YouTube). 2022-04-20. https://www.youtube.com/watch?v=EMFAFtuGpPc
- Paint with Bubbles – 3 Ways — Artful Kids. 2012-02-02. https://artful-kids.com/2012/02/02/paint-with-bubbles-3-ways/
- Bubble Print Process Art Activity — Friends Art Lab. 2021-06-12. https://www.friendsartlab.com/bubble-print-process-art-activity/

Medha Deb is an editor with a master's degree in Applied Linguistics from the University of Hyderabad. She believes that her qualification has helped her develop a deep understanding of language and its application in various contexts. Medha specializes in the areas of beauty, health, sports, and wellness and is committed to ensuring that the content on the website is…