
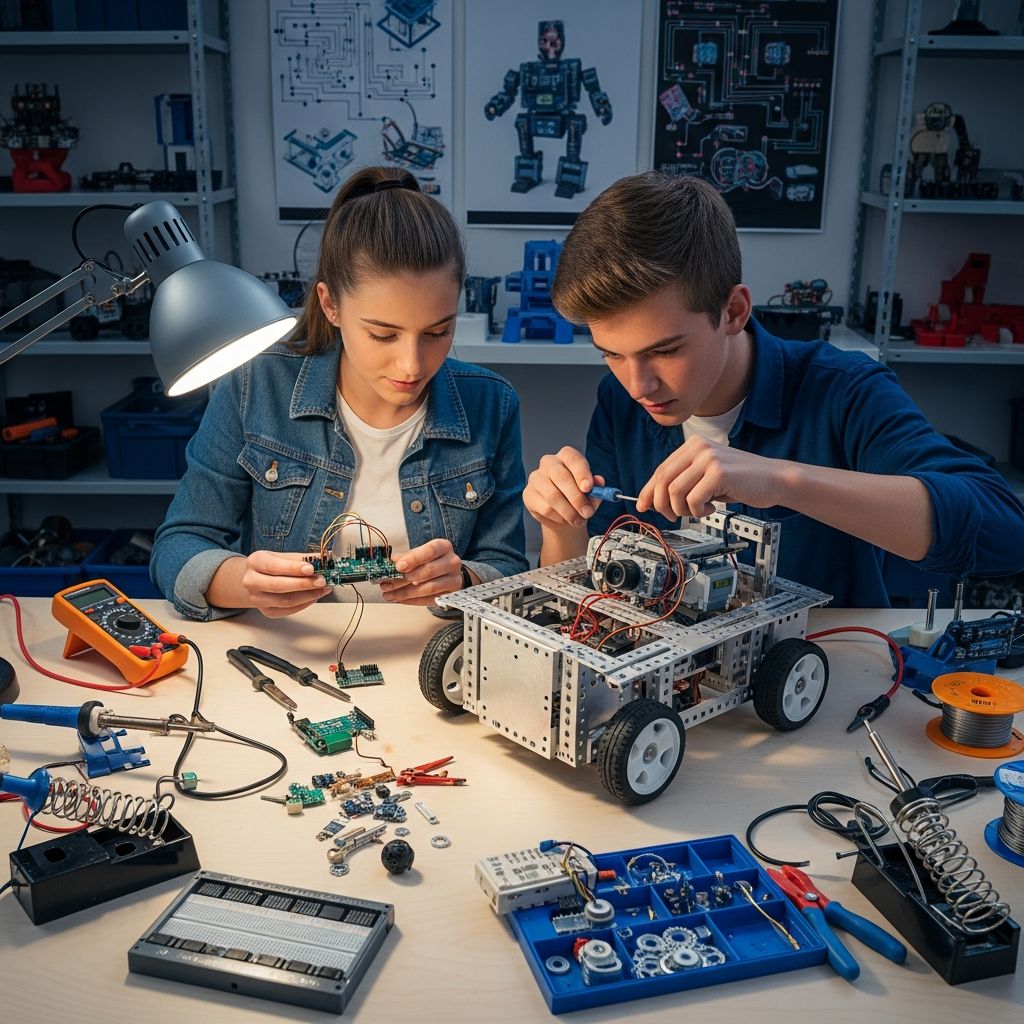
Teenagers diving into robotics gain practical skills in engineering, coding, and problem-solving that prepare them for future careers in technology. This guide outlines a complete process for creating functional robots using affordable tools and components.
Why Teens Should Explore Robotics
Robotics combines creativity with technical discipline, allowing young builders to turn ideas into working machines. Projects teach persistence through trial and error while fostering teamwork when collaborating on designs. According to foundational robotics principles, understanding core elements like structure and control systems builds confidence in handling complex systems.
High school students often start with simple bots that navigate obstacles or follow lines, progressing to advanced models with AI elements. These experiences align with educational standards from programs like FIRST Robotics, emphasizing iterative design.
Essential Skills for Robot Creation
Success requires blending mechanical, electrical, and software knowledge. Beginners should master these areas progressively.
- Mechanical Design: Focus on frames, joints, and movement mechanisms using materials like plastic or metal.
- Electrical Wiring: Learn circuits, power distribution, and component connections safely.
- Programming Logic: Write code to direct actions based on sensor data.
Tools such as multimeters for testing voltage and soldering irons for permanent connections are staples. Software like CAD programs aid in visualizing assemblies before building.
Selecting the Right Components
Choose parts based on project goals, budget, and skill level. Microcontrollers serve as the central processor.
| Component | Purpose | Beginner Options |
|---|---|---|
| Microcontroller | Processes inputs and controls outputs | Arduino Uno, Raspberry Pi Pico |
| Motors | Enable motion | DC motors, servo motors |
| Sensors | Detect environment | Ultrasonic, infrared |
| Power Source | Supplies energy | Rechargeable batteries (9V or LiPo) |
| Chassis | Structural base | Acrylic kits or 3D-printed parts |
Starter kits bundle these items, reducing initial costs. For mobility, pair motors with wheels; for manipulation, add grippers.
Planning Your Robot Project
Begin by defining objectives. Will it avoid walls, pick up objects, or draw patterns? Document requirements: size limits, speed needs, terrain type.
Sketch initial concepts on paper or digitally. Consider modularity for easy upgrades, a key principle in modern designs that enhances adaptability. Simulate in free CAD tools to check fit and balance.
Break the project into phases: research (1 week), design (2 weeks), assembly (1 week), testing (ongoing). This structure mirrors professional engineering workflows.
Step-by-Step Assembly Guide
Step 1: Construct the Base
Mount the chassis and attach motors securely with screws or brackets. Ensure wheels align for straight movement. Test motor spin without wiring to verify mechanics.
Step 2: Integrate Electronics
Wire the microcontroller to motors via drivers to handle current. Connect sensors to input pins. Use breadboards for prototyping before soldering.
Power considerations: Match battery voltage to components (e.g., 5V for Arduino). Add switches for safe on/off control.
Step 3: Develop the Code
Start with Arduino IDE or MicroPython. Basic code structure:
void setup() { pinMode(13, OUTPUT); // Motor pin}void loop() { digitalWrite(13, HIGH); // Move forward delay(2000); digitalWrite(13, LOW); // Stop}Expand to read sensors: if distance < 10cm, reverse. Debug using serial monitors.
Step 4: Initial Testing
Run subsystems separately: motors alone, sensors alone. Combine and observe interactions. Use a checklist:
- Does it power on without shorts?
- Motors respond to commands?
- Sensors detect accurately?
Advanced Features for Ambitious Teens
Once basics work, add complexity. Incorporate cameras for vision using Raspberry Pi. Experiment with PID control for smooth speed adjustment.
Wireless control via Bluetooth modules allows smartphone apps to direct the bot. Machine learning libraries like TensorFlow Lite enable object recognition on edge devices.
Modular arms with multiple servos mimic industrial manipulators. Lightweight materials like carbon fiber reduce power draw while increasing durability.
Safety Protocols in Robotics
Secure loose wires to prevent shorts. Wear goggles during drilling or cutting. Limit battery charging unattended.
Test in controlled spaces to avoid damage. For human-interacting bots, implement emergency stops and proximity halts. Supervise younger builders.
Troubleshooting Common Issues
Robot won’t move? Check connections and code pins. Jerky motion? Calibrate sensors or adjust motor power.
| Problem | Likely Cause | Solution |
|---|---|---|
| No power | Dead battery or loose wire | Measure voltage; reseat connections |
| Erratic sensor readings | Noise or misalignment | Average multiple readings in code |
| Overheating motors | Excess current | Add heatsinks or reduce duty cycle |
Log errors systematically to identify patterns.
Project Ideas to Challenge Yourself
- Line Follower: Uses IR sensors to track tape paths.
- Sumo Bot: Pushes opponents out of a ring.
- Automated Planter: Monitors soil moisture and waters plants.
- Maze Solver: Maps and navigates walls using algorithms.
- Gesture-Controlled Arm: Responds to hand waves via accelerometer.
Enter competitions like VEX or Botball for feedback and prizes.
Resources and Next Steps
Join online communities for tips. Free courses on Coursera cover ROS (Robot Operating System). Libraries offer Arduino loans.
Scale up to teams: divide roles in design, build, code. Document progress in portfolios for college apps.
Frequently Asked Questions
How much does a starter robot cost?
Basic kits range from $50-$150, covering essentials without extras.
What if I lack tools?
Use school makerspaces or online simulators like Tinkercad first.
Can I build without coding experience?
Yes, block-based platforms like Scratch for Arduino ease entry.
Is 3D printing necessary?
No, but it enables custom parts; free designs abound on Thingiverse.
How long to build the first robot?
10-20 hours spread over weeks, depending on complexity.
References
- Robotics for Beginners: Start Building Robots with Simple Projects — Arctos Robotics. 2024-12-25. https://arctosrobotics.com/2024/12/25/robotics-for-beginners-guide/
- How Do You Design a Robot? — Design News. 2024. https://www.designnews.com/robotics/what-has-and-hasn-t-changed-in-the-basic-design-of-robots-you-may-be-surprised
- Building Your First Robot: A Step-by-Step Guide for Beginners — Oreate AI. 2024. http://oreateai.com/blog/building-your-first-robot-a-stepbystep-guide-for-beginners/93b410bfc33aea20b20b086f40d0e8bf
- Robot Design and Architecture: Key Principles and Practices — AZoRobotics. 2024. https://www.azorobotics.com/Article.aspx?ArticleID=714
- Design 101 — FIRST Robotics. 2024. https://www.firstinspires.org/hubfs/web/program/frc/resources/design-101.pdf?hsLang=en
- Robotics Fundamentals Learning Path — NVIDIA. 2024. https://www.nvidia.com/en-us/learn/learning-path/robotics/

- Integrated M.A. in Applied Linguistics, University of Hyderabad
- 5+ years in editorial, instructional, SEO, and research-based writing
Sneha is a relationships and lifestyle writer with a strong foundation in applied linguistics and certified training in relationship coaching. She brings over five years of writing experience to theskillvault, crafting thoughtful, research-driven content that empowers readers to build healthier relationships, boost emotional well-being, and embrace holistic living. Her writing and insights reflect the belief that beauty, happiness, and wellness…