
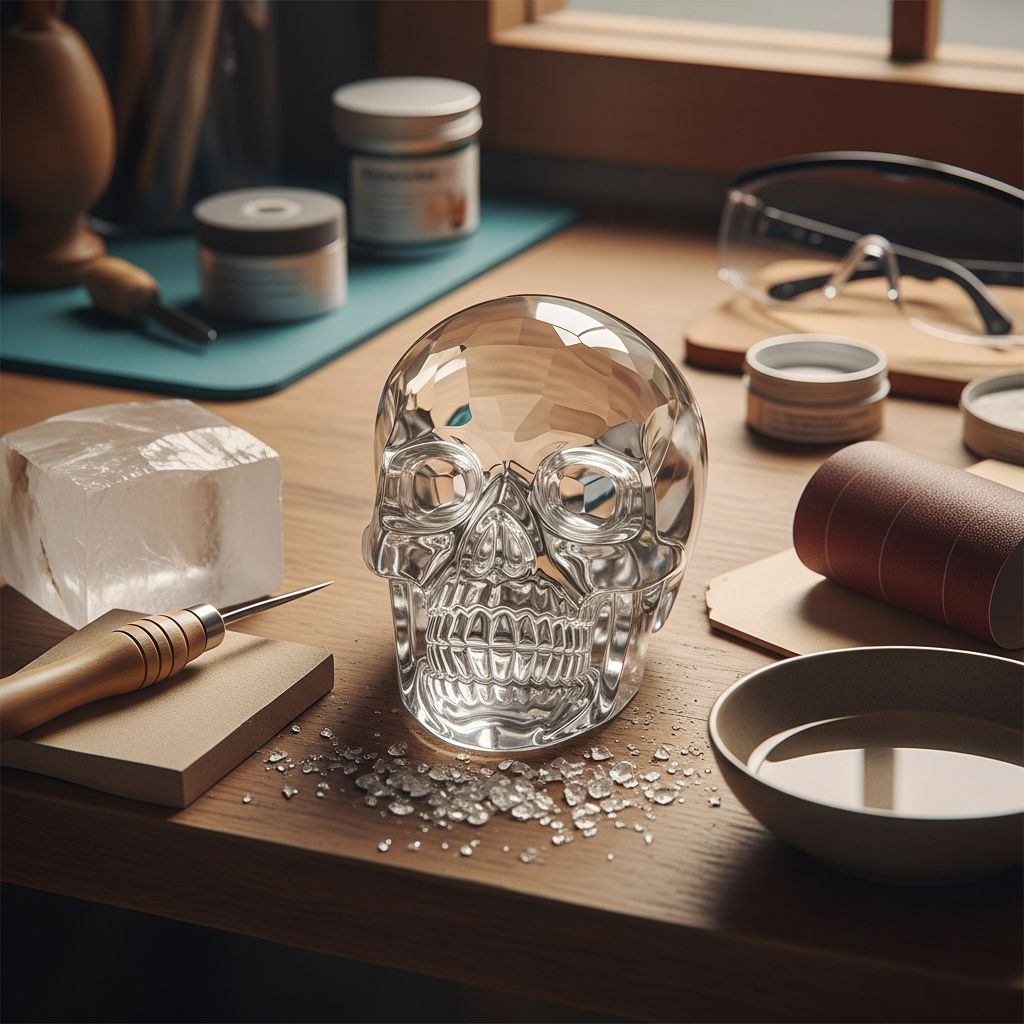
Creating a **crystal skull** combines artistry, chemistry, and a touch of mystique, resulting in eye-catching decorations suitable for Halloween, science fairs, or home displays. These projects use accessible materials like borax or packing tape to produce shimmering, skull-shaped masterpieces without advanced skills.
Understanding Crystal Skulls in Modern Crafting
Crystal skulls captivate imaginations due to their legendary status in folklore and pop culture, but today’s DIY versions focus on visual sparkle rather than ancient myths. Crafters replicate the effect through **crystallization**—a process where dissolved minerals reform as solid crystals on a base object—or by molding translucent structures. Both methods yield durable, glossy results that mimic quartz-like clarity.
The appeal lies in the transformation: ordinary items evolve into intricate, frosted gems. Borax-based techniques grow actual crystals, while tape methods create lightweight, clear shells. Each approach suits different skill levels and budgets, making crystal skulls accessible for beginners and experts alike.
Gathering Essential Materials for Success
Before starting, assemble supplies tailored to your chosen method. For borax crystallization, prioritize safety and saturation; for tape sculpting, focus on adhesion and shaping.
- Borax method: Borax powder (laundry aisle staple), large heat-safe pot (at least 9 liters), heavy plastic or faux skull base (non-floating, scuff-sanded for adhesion), waterproof gloves, food coloring (optional), rocks or weights for stability.
- Tape method: Clear packing tape rolls, plastic wrap or food film, spherical objects like balls (for head and jaw molds), scissors, reference skull images.
- Shared tools: Drying rack, large container for solutions, ventilation for chemical work.
Costs stay under $10-20 total, with borax boxes around $5 and tape packs similarly priced. Source heavy skulls from discount stores to prevent floating during crystallization.
Mastering Borax Crystallization: Step-by-Step
Borax (sodium tetraborate) forms **supersaturated solutions** that deposit needle-like crystals as they cool. This chemical reaction creates dense, sparkling coatings ideal for spooky effects.
- Prepare workspace: Work in a well-ventilated area; borax irritates skin and eyes. Boil water in a large pot—fill halfway for a 9-liter vessel.
- Create saturation: Remove from heat post-boil. Gradually stir in borax (full box for dense results) until undissolved powder remains. Add dye for colored crystals if desired.
- Prep skull base: Select a heavy, matte-finished plastic skull. Fill hollow ones with rocks to sink them. Lightly sand shiny surfaces for better crystal grip.
- Submerge carefully: Using insulated mitts, lower the skull into the hot solution, ensuring full coverage without air bubbles. Position display-side up; avoid crowding multiple items.
- Allow growth: Cover pot and let sit 8-16 hours on residual heat. Initial hours show no change—patience yields thicker layers. Check after 8 hours for desired density.
- Extract and dry: Gently lift with tongs; crystals are fragile wet. Place on a rack to air-dry fully, preserving sparkle.
For denser crystals, extend time to 16 hours with maximum borax. Reuse solution by reheating to dissolve remnants, enabling multiple batches.
Troubleshooting Common Borax Issues
Challenges arise but are fixable:
| Problem | Cause | Solution |
|---|---|---|
| Patchy coverage | Insufficient saturation or short soak | Reheat solution, add more borax, resubmerge 4-8 hours |
| Floating skull | Air pockets or light base | Weight with rocks; submerge fully, releasing bubbles |
| Weak adhesion | Smooth surface | Sand beforehand; extend drying time |
| Too sparse crystals | Low concentration | Use hotter water, full borax box next time |
Reheating patchy pieces gently redissolves crystals without damage, allowing retries seamlessly.
Building a Tape-Based Crystal Skull Alternative
For a no-chemicals option, sculpt a translucent skull using packing tape’s strength and clarity. This yields a lightweight, reusable prop mimicking crystal sheen.
- Mold the cranium: Wrap a ball tightly in plastic film, then 10-15 layers of packing tape. Cut off carefully along a forehead line, retaining roundness.
- Form the mandible: Repeat on a smaller ball for the jaw. Trim edges for fit.
- Assemble base: Align and tape cranium atop jaw securely. Reinforce joints with extra layers; reference human or stylized skull photos for proportions.
- Add details: Twist tape into sticky-out ropes for eye sockets, nasal cavity, and teeth. Roll backward over fingers for thin, bony features.
- Secure and refine: Attach details, covering with tape layers. Slice tape for depth in recesses; build up weak spots.
This method finishes in under an hour, costing pennies. Vary forehead height for gorilla-like or alien aesthetics.
Enhancing Your Crystal Skull Creations
Elevate basic skulls:
- Multi-color effects: Dye borax batches separately; layer by sequential dips.
- Scale up: Crystallize spiders, roses, or clusters for thematic displays.
- Preservation: Seal tape skulls with clear spray; store borax ones dust-free.
- Safety upgrades: Use gloves always; supervise kids on tape projects.
Display on LED lights for amplified glow, perfect for parties or exhibits.
Safety Guidelines for Chemical and Tool Use
Borax handling requires caution: avoid ingestion, eye contact, or inhalation. Use adult supervision for hot liquids. Tape work involves sharp scissors—mind fingers. Dispose solutions by diluting and draining per local rules; borax biodegrades safely.
Creative Variations and Project Ideas
Adapt for themes:
- Seasonal: Halloween clusters or Christmas icicle skulls.
- Educational: Demo supersaturation in classrooms.
- Advanced: Combine methods—tape skull as borax base for hybrid shine.
Experiment with alum or salt for alternative crystals, noting borax’s superior density.
Frequently Asked Questions (FAQs)
What makes borax ideal for crystal growing?
Borax forms clear, rapid-growing needles in supersaturated solutions, adhering well to varied surfaces for dense, sparkling results.
Can I reuse the borax solution?
Yes, reheat to dissolve crystals, add more borax if needed, and reboil for 2-3 additional uses without quality loss.
How long until crystals appear?
Expect nothing for 4-6 hours; peak growth hits 8-16 hours as solution cools slowly.
Is the tape skull durable?
Yes, multiple tape layers create a strong, flexible shell resistant to light handling.
What if my skull floats?
Fill with weights or rocks; ensure full submersion and bubble release upfront.
References
- DIY Borax Crystal Skull Tutorial — Dans le Lakehouse. 2021-10-01. https://danslelakehouse.com/2021/10/diy-borax-crystal-skull-tutorial.html
- Make a Crystal Skull in Under an Hour for Under a Dollar — Instructables. N/A. https://www.instructables.com/Make-a-Skull-in-under-an-hour-for-under-a-dollar/
- How to Make DIY Crystal Skulls for Halloween — Selene Builds Things. 2023-10-19. https://selenebuildsthings.com/2023/10/19/how-to-make-diy-crystal-skulls-for-halloween/

- Integrated M.A. in Applied Linguistics, University of Hyderabad
- 5+ years in editorial, instructional, SEO, and research-based writing
Sneha is a relationships and lifestyle writer with a strong foundation in applied linguistics and certified training in relationship coaching. She brings over five years of writing experience to theskillvault, crafting thoughtful, research-driven content that empowers readers to build healthier relationships, boost emotional well-being, and embrace holistic living. Her writing and insights reflect the belief that beauty, happiness, and wellness…