
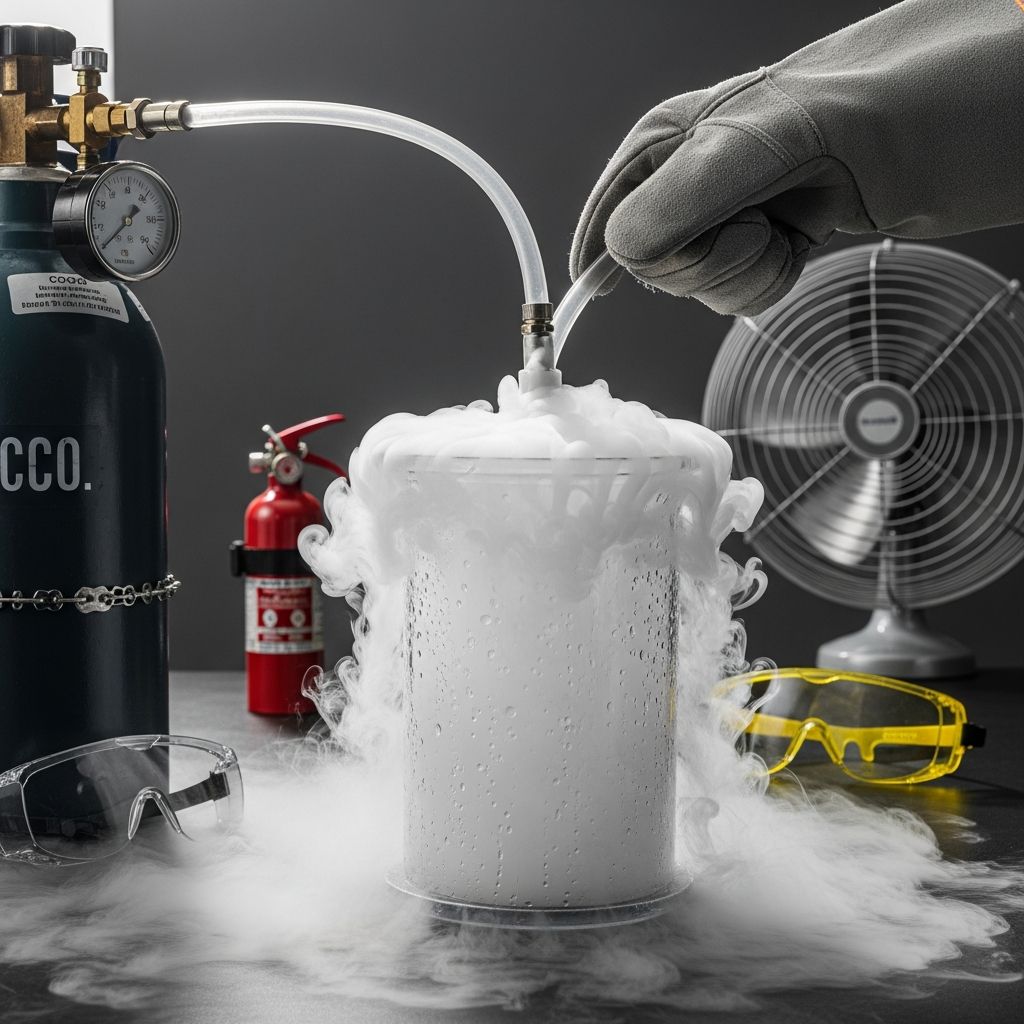
Dry ice, the solid form of carbon dioxide (CO2), offers endless possibilities for captivating science demonstrations due to its sublimation at room temperature, turning directly into gas without melting into a liquid. While commercial dry ice is widely available, producing it at home provides an engaging way to explore thermodynamics and phase changes hands-on. This guide details accessible techniques, prioritizing safety and simplicity, drawing from proven DIY approaches.
Understanding Dry Ice Fundamentals
Dry ice forms when carbon dioxide gas is compressed to a liquid state and then rapidly depressurized, causing it to freeze at -78.5°C (-109.3°F). Unlike regular ice, it sublimes, creating fog-like effects ideal for experiments. According to the National Institute of Standards and Technology (NIST), CO2‘s triple point occurs at -56.6°C and 5.11 atm, explaining why controlled pressure release is key to solid formation.
Key properties include its density (about 1.5 g/cm³), non-wetting nature, and ability to displace oxygen, which underscores handling precautions. Home production mimics industrial processes but on a small scale, using everyday CO2 sources.
Essential Safety Protocols Before Starting
Safety is paramount when dealing with extreme cold and potential asphyxiation risks. Always work in well-ventilated outdoor areas to avoid CO2 buildup, which can reduce oxygen levels. Wear insulated gloves to prevent frostbite, as direct contact causes severe burns. Eye protection is mandatory, and keep a first-aid kit nearby.
- Use only CO2-based fire extinguishers (check labels for 100% CO2).
- Avoid enclosed spaces; monitor air quality if indoors.
- Never store dry ice in airtight containers to prevent pressure explosions.
- Supervise children closely and educate on hazards.
- Dispose of remnants by allowing sublimation in open areas.
The Occupational Safety and Health Administration (OSHA) emphasizes ventilation when handling dry ice, recommending areas with airflow exceeding 10,000 cubic feet per minute for larger quantities.
Method 1: Fire Extinguisher Technique – Quick and Accessible
The most straightforward home method utilizes a CO2 fire extinguisher, which stores liquid CO2 under pressure. Upon release, the expansion cools the gas sufficiently for solidification. This yields small quantities (50-200g per burst) perfect for demonstrations.
Required Materials
| Item | Purpose | Notes |
|---|---|---|
| CO2 fire extinguisher (5-10 lb) | CO2 source | Ensure full charge; costs $30-50 |
| Thick cloth bag or pillowcase | Catches dry ice pellets | Cotton or canvas; tape securely |
| Insulated gloves | Protection from cold | Leather or neoprene |
| Plastic bowl or container | Storage | Non-metallic to avoid sticking |
| Boiling water (optional) | Demonstration | For fog effect |
Step-by-Step Instructions
- Position outdoors over a surface easy to clean, like concrete or a sink.
- Secure the cloth bag tightly over the extinguisher’s horn using duct tape, ensuring no gaps.
- Don gloves and safety glasses; pull the safety pin.
- Invert the extinguisher slightly and discharge for 5-10 seconds into the bag. White pellets will form on the fabric interior as CO2 expands and cools.
- Untape carefully; scoop pellets into the bowl using a plastic spoon. Yield: fist-sized chunks.
- Test by adding to warm soapy water for bubble effects or boiling water for dense fog.
Expect 10-20% efficiency; the rest escapes as gas. Repeat bursts as needed, but extinguishers hold limited charges.
Method 2: CO2 Tank with Adapter – Scalable Production
For frequent use, a CO2 tank (e.g., for soda makers or welding) paired with a dry ice adapter offers higher yields. Devices like the Penguin adapter throttle flow to promote freezing at the nozzle.
Gear List
- CO2 tank (20 lb, refillable).
- Dry ice maker adapter ($50-100).
- Regulator valve.
- Heavy-duty gloves and face shield.
Procedure
- Attach adapter to tank valve; set pressure to 800-1000 psi.
- Point nozzle into an insulated cooler lined with cloth.
- Open valve slowly; dry ice extrudes in 30-60 seconds per batch.
- Collect and insulate immediately to minimize sublimation (lasts 24 hours in cooler).
This method produces pounds of dry ice cheaply, ideal for larger experiments.
Advanced Approach: Chemical CO2 Generation and Compression
For true ‘from scratch’ creation, generate CO2 via acid-base reactions, purify, compress, and throttle. This mirrors lab processes but requires equipment.
Setup Overview
- Reactor: Flask with baking soda; drip hydrochloric acid.
- Scrubber: Water trap for impurities.
- Compressor: To liquefy at 60+ atm.
- Throttle valve: For Joule-Thomson cooling.
Challenges include scaling gas volume and safety with pressures. Yields are low without industrial gear.
Creative Applications and Experiments
Homemade dry ice shines in education and entertainment:
- Fog Machines: Submerge in hot water for party effects.
- Crystal Gardens: Place in soapy solution for growing ‘flowers’ via sublimation pressure.
- Density Demos: Float bubbles or create air cannons.
- Culinary Uses: Chill drinks or flash-freeze fruits (food-grade only).
In schools, it illustrates phase changes; NIST data confirms sublimation rate of 5-10 lbs/day per 10 lbs at room temp.
Storage, Handling, and Disposal Best Practices
Store in insulated coolers with vents; paper wrapping absorbs moisture. Use within 24 hours. For disposal, spread in open areas. Never in freezers—sublimates faster there.
| Storage Method | Sublimation Time | Tips |
|---|---|---|
| Styrofoam cooler | 24-48 hours | Ventilate; add newspaper |
| Paper bag | 6-12 hours | Portable for demos |
| Direct exposure | 1-2 hours | Immediate use only |
Frequently Asked Questions (FAQs)
Is homemade dry ice safe for food?
Only if from pure CO2 sources; avoid extinguisher residue. Use food-grade tanks.
How much dry ice from one extinguisher?
Typically 0.5-1 lb total, depending on size and bursts.
Can I make dry ice without an extinguisher?
Yes, with CO2 tanks or advanced setups, but simpler methods are safer.
What if dry ice touches skin?
Treat frostbite: Warm water soak, seek medical help for severe cases.
Why does dry ice make fog?
Sublimation condenses atmospheric moisture into visible vapor.
Troubleshooting Common Issues
- No pellets forming: Ensure full extinguisher; discharge longer in cool weather.
- Bag tears: Use thicker fabric or tape reinforcements.
- Too much gas escape: Seal bag tighter; work faster.
Experiment iteratively for best results.
References
- Thermodynamic Properties of Carbon Dioxide — National Institute of Standards and Technology (NIST). 2023-05-15. https://webbook.nist.gov/cgi/cbook.cgi?ID=C124389&Mask=4
- Dry Ice Safety Guidelines — Occupational Safety and Health Administration (OSHA). 2024-02-10. https://www.osha.gov/dry-ice/safety
- Carbon Dioxide Fire Extinguisher Specifications — National Fire Protection Association (NFPA). 2023-11-20. https://www.nfpa.org/codes-and-standards/all-codes-and-standards/list-of-codes-and-standards/detail?code=10
- CO2 Phase Diagram and Applications — American Chemical Society (ACS). 2024-01-08. https://pubs.acs.org/doi/10.1021/acs.jced.3c00789
- Handling Compressed Gases Safely — Compressed Gas Association (CGA). 2025-03-12. https://www.cganet.com/publication/safe-handling-compressed-gases

Medha Deb is an editor with a master's degree in Applied Linguistics from the University of Hyderabad. She believes that her qualification has helped her develop a deep understanding of language and its application in various contexts. Medha specializes in the areas of beauty, health, sports, and wellness and is committed to ensuring that the content on the website is…