
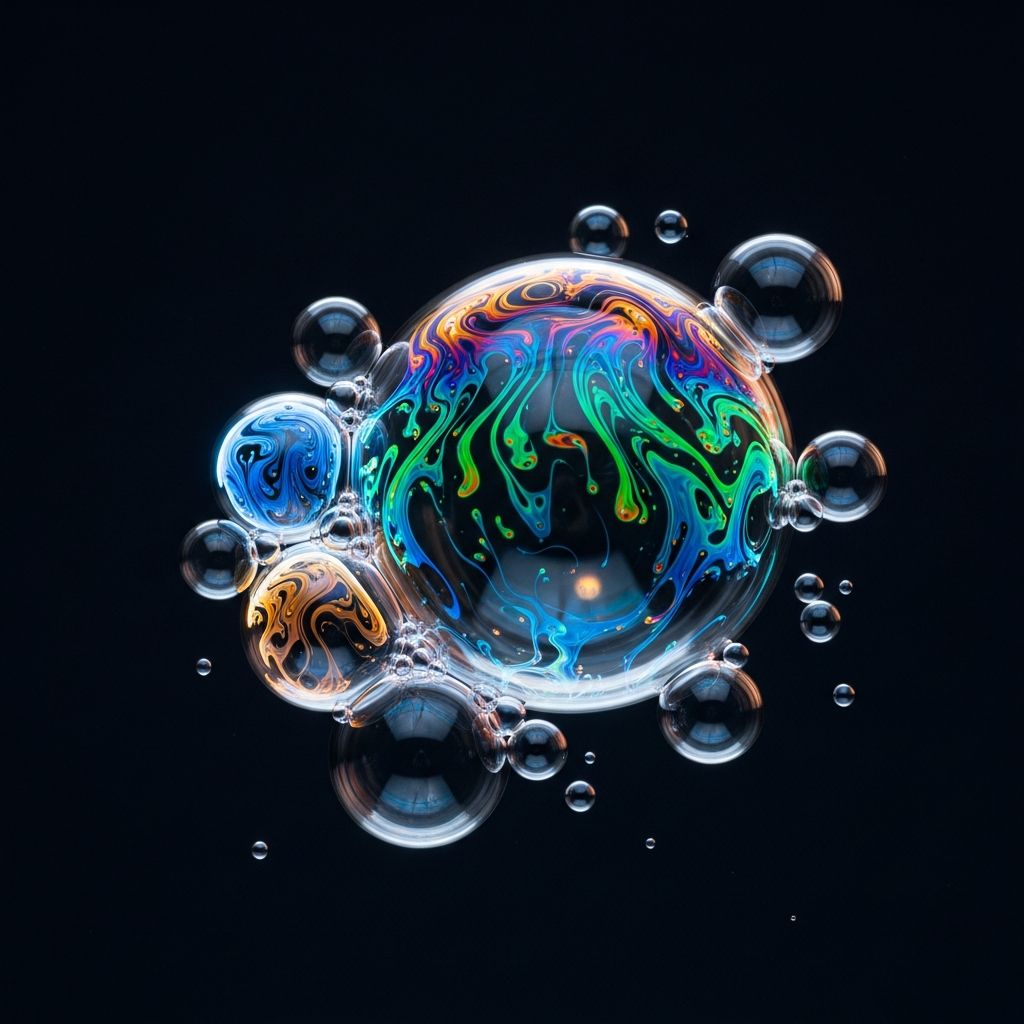
Illuminated Bubbles: A Complete Guide to Crafting Luminous Spheres
Glowing bubbles represent an exciting and visually captivating activity that combines simple chemistry with creative entertainment. Whether you’re planning a special event, creating an engaging experience for children, or simply exploring an intriguing DIY project, luminescent bubbles offer endless possibilities for fun and wonder. The beauty of this activity lies in its accessibility—most methods require only basic household items and a few minutes of preparation time. What transforms ordinary bubbles into mesmerizing glowing orbs is the addition of fluorescent materials that respond to ultraviolet light, creating an otherworldly visual effect that captivates observers of all ages.
Understanding Fluorescence and How It Works with Bubbles
Fluorescence is a natural phenomenon where certain materials absorb ultraviolet light and re-emit it as visible light. The most commonly used fluorescent compounds for this purpose include xanthene dyes found in highlighter markers and quinine found in tonic water. When these substances are incorporated into a bubble solution and exposed to black light (ultraviolet light source), they absorb the UV rays and emit a brilliant glow that makes the bubbles visible in darkness. This scientific principle transforms a simple activity into an educational demonstration of light physics while maintaining the fun and excitement of bubble play. The intensity of the glow depends on the concentration of fluorescent material in the solution and the strength of the UV light source used to illuminate the bubbles.
Highlighter-Based Bubble Solution Method
One of the most popular and cost-effective approaches involves extracting the fluorescent ink from highlighter markers. This method has gained popularity because highlighters contain xanthene dyes specifically designed to be vibrant and visible, making them ideal for creating bright glowing effects under UV light.
Materials Required
- One or more large highlighter markers (yellow, pink, orange, or other bright colors work best)
- Pliers or needle-nose pliers
- Clear bubble solution or basic dishwashing liquid and water mixture
- Dawn or similar dish soap
- Glycerin
- Container for mixing
- Black light or UV flashlight
- Bubble wand or straw
Step-by-Step Instructions
Begin by carefully extracting the ink tube from inside the highlighter marker. Using pliers, gently grasp the end piece of the marker and wiggle it until it releases. Pull out the ink-filled tube slowly and deliberately, as it contains liquid that can splatter easily. Exercise caution during this step to avoid staining your hands or work surface. Once the tube is removed, place it directly into your container. You can either squeeze the remaining ink from the tube or simply place the entire tube in the solution and allow the ink to gradually seep out over time.
Create your base bubble solution by combining equal parts of water and highlighter-infused liquid. If your initial mixture produces weak bubbles that burst immediately, strengthen the solution by adding approximately one tablespoon each of dish soap and glycerin. These ingredients stabilize the bubble structure and allow larger, more stable spheres to form. Mix thoroughly and allow the solution to sit undisturbed for several hours or preferably overnight, as this gives the highlighter ink adequate time to fully disperse throughout the liquid.
Once your solution is ready, test it by dipping your bubble wand or straw into the mixture and blowing gently. Dim the lights and activate your black light to observe the glowing effect. If the bubbles appear too faint, you may need to increase either the highlighter ink concentration or invest in a more powerful UV light source.
Glow Stick Method for Immediate Results
When time is limited or immediate glow-in-the-dark bubbles are essential, the glow stick method provides an excellent alternative. Glow sticks contain a chemical solution that emits light through chemiluminescence, creating an immediate glowing effect that doesn’t require external UV illumination. This makes them particularly valuable for outdoor events or situations where a black light isn’t available.
Materials Needed
- Non-toxic glow sticks (multiple sticks for more intense glow)
- Sharp scissors or cutting tool
- Clear plastic container
- Prepared bubble solution
- Paper towels
- Bubble wand
Preparation and Execution
Activate your glow sticks by bending them until you hear the internal vial crack. This rupture allows the chemical components to mix and begin the chemiluminescent reaction. Position the glow stick horizontally over a container and use sharp scissors to carefully cut off one end. Hold the stick at an angle and position the open end downward over your bubble solution, then quickly snip the opposite end to allow the glowing liquid to drain into the container. The chemical solution will flow out and disperse throughout your bubble liquid, instantly creating a glowing mixture. Repeat this process with additional glow sticks to intensify the luminescence.
After combining all glow stick contents with your bubble solution, seal the container and shake vigorously for approximately one minute to ensure thorough mixing. This method produces ready-to-use glowing bubbles within minutes, making it ideal for last-minute party preparations or spontaneous bubble activities.
Fluorescent Paint Approach
Using commercially available glow-in-the-dark or fluorescent paint offers another viable method for creating luminescent bubbles. This approach provides flexibility in color selection and produces consistently bright results when used correctly.
Basic Paint Recipe
Combine one cup of distilled water with one teaspoon of dish soap and one squeeze or tablespoon of glow-in-the-dark paint in a glass container. Mix the ingredients thoroughly until the paint is completely dissolved and evenly distributed throughout the solution. Divide the mixture into separate containers if you want to create multiple colors, adding different paint shades to each container. Allow the combined mixture to sit covered for at least 24 hours, preferably exposed to sunlight during this period, as this enhances the paint’s ability to absorb and store light energy.
Enhanced Paint Recipe
For stronger and more stable bubbles, use one cup of liquid dishwashing detergent, half a cup of white corn syrup, and three cups of water as your base solution. Blend one part of this bubble solution with one part glow-in-the-dark paint. This ratio ensures adequate bubble stability while maintaining strong fluorescence. If bubbles burst too quickly, gradually increase the proportion of bubble solution until you achieve the desired bubble longevity.
Comparing the Three Methods
| Method | Preparation Time | Cost | Glow Intensity | Black Light Required | Best For |
|---|---|---|---|---|---|
| Highlighter Ink | 24+ hours | Low | Moderate to High | Yes | Budget-conscious projects, planned events |
| Glow Sticks | 5-10 minutes | Moderate | High | No | Last-minute events, outdoor activities |
| Fluorescent Paint | 24+ hours | Moderate | High | Yes | Consistent results, color variety |
Optimizing Your Bubble Solution
Regardless of which luminescent method you choose, several factors influence the quality and longevity of your bubbles. Glycerin acts as a humectant that slows evaporation and increases bubble durability. Corn syrup adds viscosity to the solution, helping larger bubbles to form and persist longer before popping. The ratio of soap to water significantly affects bubble formation—too much soap creates weak bubbles, while too little prevents adequate bubble formation. Experiment with small test batches before preparing large quantities for events.
Water quality matters more than many people realize. Distilled or filtered water typically produces superior results compared to tap water, which may contain minerals that interfere with bubble formation. Temperature also plays a role—slightly warm solutions work better than cold liquids, as heat reduces surface tension and improves bubble elasticity.
Black Light Options and Effectiveness
A black light, also known as a UV light or ultraviolet light source, is essential for highlighting the fluorescence of highlighter-based and paint-based bubbles. Several options exist for obtaining appropriate lighting. Traditional black light bulbs fit into standard light fixtures and work well for indoor events or permanent installations. Portable UV flashlights offer flexibility for outdoor use or moving between locations. Some recent innovations include LED black lights that consume less energy and produce less heat than traditional bulbs. When selecting a black light, consider the size of the area you intend to illuminate—larger spaces require more powerful light sources or multiple fixtures positioned strategically.
Enhancement Techniques and Creative Variations
Bubble machines can accelerate production significantly, particularly useful for large gatherings or extended play sessions. Simply pour your prepared glowing solution into a bubble machine and enjoy continuous streams of luminescent bubbles. Some creative enthusiasts have experimented with combining glow sticks with dry ice to create fog-filled glowing bubbles, though this advanced technique requires careful safety precautions and additional equipment.
For multilayered visual effects, combine tonic water (which also fluoresces under black light due to its quinine content) with bubble solution in a 50-50 ratio. This mixture produces particularly vivid glowing effects and can be used as a base for any of the previously mentioned methods.
Safety Considerations and Best Practices
While glowing bubble creation is generally safe, several precautions ensure a positive experience. Glow stick chemicals are non-toxic when used as intended but can cause irritation if they contact eyes or open wounds. When extracting highlighter ink, wear gloves to prevent staining and minimize skin contact with dyes. Ensure adequate ventilation when working with multiple chemical compounds. Keep all materials away from very young children who might consume the solutions or place markers in their mouths. Test any new solution on a small scale before using it extensively. If bubbles will land on people or surfaces, verify that the fluorescent materials won’t cause permanent staining.
Frequently Asked Questions
Q: How long do glowing bubbles stay luminescent?
A: Highlighter and paint-based bubbles glow as long as a black light illuminates them. Glow stick bubbles remain luminescent for 4-12 hours, depending on the glow stick quality, though brightness gradually diminishes over time.
Q: Can I store prepared bubble solution for future use?
A: Yes, sealed containers of prepared bubble solution remain viable for several weeks. Highlighter-based solutions improve with time as the ink continues to disperse. Store containers in cool, dark locations away from direct sunlight.
Q: What’s the best way to prevent bubble breakage?
A: Adding glycerin and corn syrup strengthens bubbles. Allow bubbles to form and rise naturally rather than blowing aggressively. Keep humidity levels moderate—extremely dry air causes faster evaporation and bubble breakage.
Q: Are these glowing bubbles safe for children?
A: All the methods described use non-toxic materials. However, supervise young children to prevent them from ingesting bubble solution or getting it in their eyes. Teach proper bubble-blowing techniques to minimize solution contact with skin.
Q: Which method produces the brightest glow?
A: Glow stick bubbles typically produce the brightest glow without requiring external light sources. When using black light, concentrated fluorescent paint solutions often rival or exceed glow stick brightness.
Q: Can I use different colored highlighters together?
A: Absolutely. Combining multiple highlighter colors creates unique multicolored glowing solutions. Experiment with various color combinations to discover your preferred effects.
Q: How much bubble solution do I need for an event?
A: For a small gathering, one or two cups suffices. For extended events or large groups, prepare 4-5 cups. Using bubble machines can stretch your supply by distributing it more gradually throughout the event duration.
References
- Highlighter Ink Extraction and Bubble Creation — Frugal Fun For Boys and Girls. 2020. https://frugalfun4boys.com/how-to-make-glowing-bubbles/
- Glow Stick and Highlighter Bubble Recipes — Paging Super Mom. https://pagingsupermom.com/make-diy-glow-bubbles/
- Multiple Glowing Bubble Formulations and Techniques — Mom Caster. https://momcaster.com/diy-glow-dark-bubbles/
- Black Light Bubble Solution Methods — Science World. https://www.scienceworld.ca/resource/black-light-bubbles/
- Fluorescent Paint Bubble Solutions for Children — Growing A Jeweled Rose. 2013. https://www.growingajeweledrose.com/2013/08/paint-and-play-glowing-bubble-painting.html

Medha Deb is an editor with a master's degree in Applied Linguistics from the University of Hyderabad. She believes that her qualification has helped her develop a deep understanding of language and its application in various contexts. Medha specializes in the areas of beauty, health, sports, and wellness and is committed to ensuring that the content on the website is…