
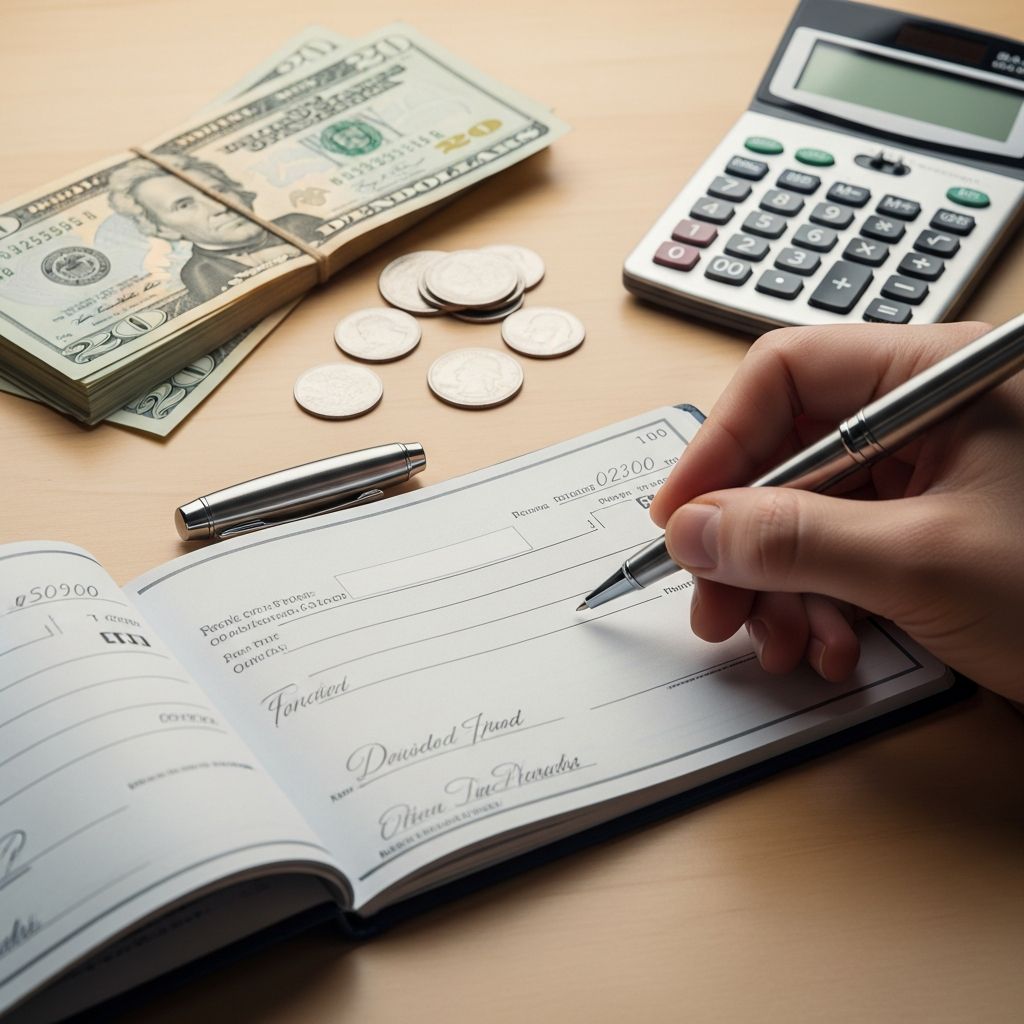
Even in the age of apps and instant transfers, paper checks are still used to pay rent, school fees, taxes, and some small businesses. To avoid delays, fees, or even fraud, you need to know how to complete a check accurately and safely.
This guide walks you through every part of a check, explains what to write where, and shares simple security habits that banks and consumer finance experts recommend.
Understanding What a Check Really Is
A check is a written instruction telling your bank to move money from your account to someone else. In legal terms, it is a negotiable instrument governed by banking and commercial law.
When you sign a check, you are:
- Authorizing your bank to pay a specific amount
- Identifying who should receive that money
- Stating the date the payment was authorized
Because a check is a legal document, banks will usually reject it if critical information is missing, unclear, or contradictory.
The Main Parts of a Standard Check
Most personal checks in the United States share a similar layout. Knowing each section makes the writing process easier.
| Area on the check | What it is for |
|---|---|
| Top right date line | Shows when you wrote and authorized the check |
| “Pay to the order of” line | Names the person or business that should receive the money |
| Amount box (numbers) | Shows the dollar amount in digits for quick reading and processing |
| Amount line (words) | Spells out the amount; banks rely on this if there is a conflict |
| Memo line | Optional note about what the payment is for |
| Signature line | Your signature authorizing the bank to release funds |
| Routing and account numbers | Printed at the bottom; identify your bank and your specific account |
| Check number | Appears on the top and bottom; helps you track each payment |
Before You Write: Essential Pre-Check Steps
Taking a moment before you put pen to paper can prevent overdrafts and processing problems.
- Confirm your balance: Check your account online or in your banking app to be sure you have enough funds to cover the full amount.
- Use the right pen: Banks and consumer guides recommend blue or black ink, not pencil, because pencil marks can be erased or altered.
- Write on a flat surface: This helps keep numbers and letters clear and legible.
- Have payee details ready: Know the exact spelling of the person’s or company’s name and any account or invoice number you may need to reference in the memo.
Step-by-Step: How to Fill Out a Check
Follow these steps in order to complete a check correctly the first time.
1. Fill in the Date
Locate the small line in the upper right corner labeled for the date.
- Write the date clearly, using either a numeric format (for example, 01/11/2025) or words (for example, January 11, 2025).
- Avoid unusual abbreviations that could be misread.
- Do not leave the date blank; an undated or post-dated check may cause confusion or may not be honored immediately by some banks.
2. Name the Payee
On the line that usually starts with “Pay to the order of,” write the name of the person or organization that should receive the funds.
- Use the full legal or business name, spelled correctly.
- Start at the far left of the line to reduce space for anyone to add more words.
- Do not leave this line blank; a check that is signed but has no payee is easier to misuse.
3. Enter the Amount in Numbers
To the right of the payee line, you will see a small box or rectangular area where the amount is written in digits.
- Write the dollar amount in numbers, including cents, for example: 125.40.
- Always include two decimal places, even for whole-dollar payments (for example, 50.00 instead of 50).
- Write the first digit close to the left edge of the box so extra numbers cannot be added.
- Double-check the number before moving on; an error here is one of the most common reasons for disputes or rejected checks.
4. Write the Amount in Words
Below the payee line is a longer line where you spell out the dollar amount in words. This line is important, because many banks rely on the written words if they do not match the digits in the amount box.
- Start at the left edge of the line.
- Write the dollar portion in words (for example, One hundred twenty-five dollars).
- Write the cents as a fraction over 100 (for example, 40/100 for 40 cents).
- For whole-dollar amounts, you can write and 00/100 or use wording such as no/100 for the cents portion.
- After the words, draw a horizontal line to the end of the blank space so no extra words can be added.
Example formats:
- For 50.00 → Fifty dollars and 00/100
- For 1,243.20 → One thousand two hundred forty-three dollars and 20/100
5. Add a Helpful Memo (Optional)
Near the bottom left of the check is a line usually labeled “Memo” or “For.” This field is not required for the bank to process the payment, but it is very useful for record-keeping.
- Use the memo to note what the payment covers, such as March rent, Tuition, or an invoice number.
- If you are paying a business that tracks payments by account number, you may include all or part of that number here, as they instruct.
- Avoid writing full sensitive identifiers if not needed; for example, use only the last several digits of an account rather than the entire number to reduce risk if the check is lost.
6. Sign the Check
On the bottom right is the signature line. Without your signature, the check is not valid and cannot be cashed or deposited.
- Sign your name using the same style you used when you opened the account and created your signature card with the bank.
- Do not sign a blank check. Always complete every other field before you add your signature; otherwise someone could fill in any amount or payee.
- Write your signature in ink, large and clear enough to be recognizable but not so large that it overlaps other details.
After You Write the Check: Good Habits and Safety Tips
Your responsibility does not end when you hand the check to someone. Using a few simple habits, you can better manage your money and reduce the likelihood of problems.
Record the Check in Your Register or App
Keeping an up-to-date record of your checks is essential for managing your balance and avoiding overdraft fees.
- Note the check number, date, payee, and amount.
- Subtract the amount from your current balance so you know how much is really available.
- You can use a paper check register, a spreadsheet, or a budgeting app—choose what you will actually maintain consistently.
Monitor Your Account for Clearing
Checks do not always clear immediately. A recipient may deposit your check days or even weeks after you write it, and the funds will leave your account only when the check is processed.
- Review your online banking or statements regularly to see which checks have cleared.
- Match each cleared check to your own record by number and amount.
- If a check remains outstanding for a long time, consider following up with the recipient or asking your bank about your options.
Protect Yourself Against Check Fraud
Check fraud continues to be a concern, and authorities recommend several basic precautions.
- Use permanent ink: Blue or black ink is harder to alter than pencil or erasable pen.
- Fill in all spaces: Start text at the far left and use lines to cover any unused space after the amount in words and numbers.
- Store checks securely: Keep your checkbook in a safe place, not in your car or unattended bag.
- Avoid mailing checks from unsecured locations: If possible, use secure mail slots or the inside of a post office for important payments.
- Act quickly if checks are lost or stolen: Contact your bank immediately so they can place a stop payment or take other protective steps.
Common Mistakes to Avoid When Writing Checks
Most check problems are caused by a few recurring errors. Being aware of them helps you avoid delays or bank fees.
- Amount mismatch: The number in the box and the words on the line must match. If they differ, the bank may rely on the written words or may reject the check entirely.
- Illegible handwriting: If the payee’s name or amount cannot be read, the bank might refuse to process the check. Printing in block letters can help if your handwriting is messy.
- Missing signature: Unsigned checks are simply not valid.
- Post-dating misunderstandings: Dating a check in the future does not guarantee the bank will wait until that date to pay it if it is presented earlier.
- Writing on the magnetic numbers: Avoid making marks over the routing and account numbers at the bottom of the check, since machines read those digits.
When Using a Check Makes Sense
Although many payments now happen electronically, checks are still practical in specific situations.
- Landlords or property managers who do not accept online payments
- Small businesses or contractors that prefer checks for their records
- Government fees, taxes, or applications that ask for a check or money order
- Gifts or charitable donations where you want a paper trail for your own records
Major banks and consumer financial educators still teach check-writing skills for these reasons, even as they also promote safer and faster electronic options.
Frequently Asked Questions About Writing Checks
Q1: What happens if I make a small mistake while writing a check?
If you catch the mistake before giving the check to anyone, the safest option is to write “VOID” across the front, tear it up, and start over. Small corrections with initials may be accepted in some cases, but they increase the chance that the bank will reject the check or delay processing.
Q2: Can I write a check if I do not have enough money yet?
Writing a check when you know you do not have sufficient funds can lead to overdraft fees, returned checks, and in serious cases may violate the law. Financial institutions and regulators warn against intentionally writing checks without enough funds, and some states treat repeated cases as check fraud.
Q3: Is it safe to write a check to “Cash”?
Writing a check to “Cash” makes it payable to whoever is holding it, which increases the risk if the check is lost or stolen. Many banks and consumer education sites recommend writing checks to a specific person or business instead of to “Cash” for security reasons.
Q4: How long is a check valid?
In the United States, many banks treat personal checks as “stale dated” after about six months and may decline to honor them, though some may still process them at their discretion. Policies can vary, so it is wise for both the writer and the recipient to handle checks promptly.
Q5: Is a cashier’s check the same as a personal check?
A personal check draws funds directly from your checking account when it is processed. A cashier’s check, bought from a bank, is drawn on the bank’s own funds and signed by a bank representative. Because the bank backs the payment, cashier’s checks are often required for large or high-risk transactions, but they are different from the everyday checks you write from your checkbook.
References
- How to write a check: A step-by-step guide — Bankrate. 2024-01-11. https://www.bankrate.com/banking/checking/how-to-write-a-check/
- How To Write a Check in 6 Simple Steps — PNC Bank Insights. 2023-07-10. https://www.pnc.com/insights/personal-finance/spend/how-to-write-a-check-in-6-simple-steps.html
- How to Write A Check: Fill Out A Check — Huntington National Bank. 2023-03-15. https://www.huntington.com/learn/checking-basics/how-to-write-a-check
- How to Write a Check — Equifax Consumer Finance Education. 2022-09-01. https://www.equifax.com/personal/education/personal-finance/articles/-/learn/how-to-write-a-check/
- How to Write a Check: A Step-by-Step Guide — Citizens Bank Learning. 2022-05-20. https://www.citizensbank.com/learning/how-to-write-check.aspx

- Integrated M.A. in Applied Linguistics, University of Hyderabad
- 5+ years in editorial, instructional, SEO, and research-based writing
Sneha is a relationships and lifestyle writer with a strong foundation in applied linguistics and certified training in relationship coaching. She brings over five years of writing experience to theskillvault, crafting thoughtful, research-driven content that empowers readers to build healthier relationships, boost emotional well-being, and embrace holistic living. Her writing and insights reflect the belief that beauty, happiness, and wellness…