
Understanding the Science Behind Magnetic Slime
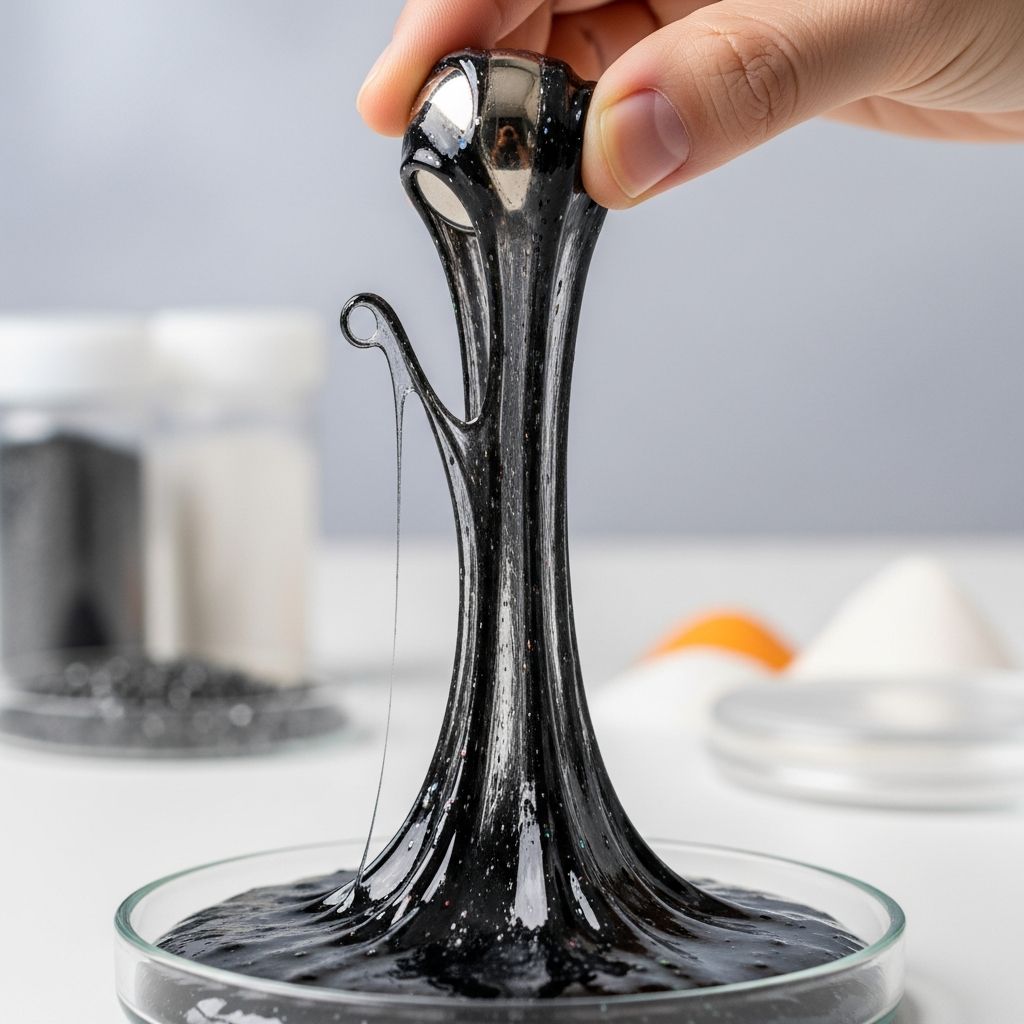
Magnetic slime represents a fascinating intersection of chemistry and physics that captivates learners of all ages. This unique substance combines the elastic properties of traditional slime with the reactive characteristics of ferromagnetic materials. When iron filings are suspended within a slime matrix, they become responsive to magnetic fields, allowing the slime to move, stretch, and dance when exposed to a magnet’s pull. This interactive quality makes magnetic slime an excellent educational tool for demonstrating fundamental principles of magnetism and material science in a tangible, engaging format.
Essential Materials for Your Magnetic Slime Project
Creating magnetic slime requires careful selection of materials to ensure the final product achieves the desired consistency and magnetic responsiveness. The foundation of any magnetic slime recipe relies on a base adhesive combined with ferromagnetic particles and an activator solution.
- White School Adhesive: The primary binding component, typically used in quantities ranging from 1/4 cup to 8 ounces depending on your desired batch size
- Iron Filings or Iron Oxide Powder: The magnetic element that gives your slime its reactive properties, usually between 1 to 2 tablespoons per batch
- Activator Solutions: These trigger the chemical reaction that transforms liquid components into slime; options include contact lens solution containing boric acid or borax mixed with water
- Water: Used to dilute the adhesive and adjust consistency, typically 1/2 to 1 1/2 cups depending on your recipe variation
- Supplementary Ingredients: Baking soda and liquid starch serve as optional additives that enhance texture and workability
- High-Powered Magnets: Neodymium or rare earth magnets work significantly better than standard craft magnets for visible magnetic effects
Preparation: Gathering Your Workspace and Tools
Before beginning your magnetic slime creation, establish an organized workspace equipped with appropriate tools. You will need mixing bowls and stirring implements such as wooden spoons or craft sticks. Measuring equipment including tablespoons, teaspoons, and measuring cups ensures accurate proportions. Disposable cups or containers facilitate easier cleanup and allow for contained mixing. Consider wearing disposable gloves to maintain cleanliness and protect your hands from staining caused by iron particles. Paper towels and a damp cloth nearby provide convenient cleanup materials throughout the project.
Method One: Contact Solution Activation Approach
This technique employs contact lens solution as the primary activator, offering a simpler alternative to borax-based methods. Begin by pouring approximately 1/3 cup of white school adhesive into your mixing bowl. Add 2 tablespoons of water to dilute the adhesive slightly, stirring thoroughly until the mixture reaches uniform consistency. Introduce 1/4 teaspoon of baking soda and mix completely. Slowly incorporate 3/4 tablespoon of contact lens solution—the mixture will immediately begin thickening and transforming into slime. Switch from stirring to kneading with your hands as the mixture becomes denser. The slime should feel less sticky after several minutes of hand manipulation. Once your slime achieves the desired elasticity and reduced stickiness, integrate 2 tablespoons of iron filings by folding them thoroughly into the slime matrix. Continue kneading until the iron particles distribute uniformly throughout, creating a consistent gray or black appearance depending on your iron pigment concentration.
Method Two: Borax-Based Formulation
An alternative approach utilizes borax powder as the slime activator, creating a notably robust formulation. Combine 1/2 cup of warm water with 1/2 cup of white school adhesive in your mixing container, stirring steadily until thoroughly blended. Dissolve 1 teaspoon of borax powder in an additional 1/2 cup of warm water in a separate vessel before slowly adding this solution to your glue mixture. The combination will immediately initiate gelation. Continue stirring as the slime pulls away from the bowl’s sides. Once the initial reaction completes, add 32 grams of iron filings (approximately 1 1/2 ounces) and work them thoroughly into the slime through massage and manipulation. The borax method typically produces a firmer, more stable slime compared to contact solution variations.
Method Three: Liquid Starch Combination
This simplified three-ingredient approach produces excellent results with minimal complexity. Add 2 tablespoons of iron oxide powder to your mixing vessel and incorporate 2 tablespoons of liquid starch, stirring until the mixture achieves uniform consistency. The resulting combination will appear similar to Oreo cookie crumbs rather than solid black, which represents normal behavior. Add 2 tablespoons of white adhesive and continue stirring thoroughly. The starch will immediately react with the glue, initiating slime formation. Transfer the slime to your hands and knead it for several minutes until reaching your preferred consistency. If excessive stickiness remains, incorporate minute quantities of additional starch. Should the slime become too stringy or dry, fold in small amounts of additional adhesive.
Optimizing Iron Particle Distribution
Achieving uniform iron particle distribution throughout your slime matrix significantly impacts the final product’s magnetic responsiveness. Thorough mixing during the iron filing integration phase ensures that ferromagnetic materials spread evenly rather than clumping. Knead the slime for at least two to three minutes after adding iron particles, paying special attention to the mixture’s edges and bottom where particles tend to accumulate. The final slime should display consistent coloration throughout, appearing entirely black or dark gray without visible white or uncolored patches. Inadequate mixing results in slime sections that respond weakly or not at all to magnetic stimulation.
Selecting Appropriate Magnets for Maximum Effect
Magnet strength profoundly influences the visibility and intensity of magnetic slime interactions. Standard craft magnets or typical educational magnets demonstrate insufficient power for dramatic effects. Neodymium magnets, specifically rare earth varieties, deliver the magnetic force necessary to produce striking slime movement. When positioning magnets near your slime, you can observe the material creeping toward the magnetic source. Placing magnets directly beneath the slime causes it to rise upward or pull toward the magnet’s location. Multiple magnets increase the magnetic field strength, enabling more pronounced interactions with your slime. When selecting magnets for children, prioritize models appropriate for supervised educational use and exercise caution regarding pinching hazards when multiple magnets are present.
Troubleshooting Common Slime Issues
Several problems may arise during magnetic slime creation, each with straightforward solutions:
- Excessive Stickiness: Your slime remains too adhesive to hands and work surfaces despite kneading efforts. Remedy this by incorporating additional activator solution or starch, adding small quantities incrementally while continuing to knead
- Inadequate Magnetism Response: The slime fails to react noticeably to magnet proximity. This typically indicates insufficient magnet strength; upgrade to neodymium or rare earth magnets for improved results
- Uneven Iron Distribution: Certain slime sections respond strongly to magnets while others show minimal reaction. Resume kneading to ensure iron particles distribute uniformly throughout the entire batch
- Overly Dense Consistency: The slime becomes too stiff or putty-like for enjoyable manipulation. Add small quantities of water or adhesive while kneading to restore elasticity
- Rapid Drying: Your slime begins hardening quickly after creation. Store it in sealed plastic bags or airtight containers to preserve moisture and maintain workability
Safety Considerations and Supervision Guidelines
When creating and using magnetic slime, particularly with young participants, observe important safety practices. Rare earth magnets pose specific hazards—never allow them to collide forcefully as they may shatter and cause injury. Prevent magnets from entering the mouth, nose, ears, or eyes. Supervise children during magnet contact, and educate them regarding proper handling techniques. Iron filings can irritate skin or cause staining, so thorough handwashing after slime play remains essential. Ensure contact lens solutions containing boric acid are used as directed and kept away from eyes unless designed for ophthalmic use. Borax-based slime should not be ingested and requires appropriate storage away from young children unfamiliar with handling guidelines.
Enhancing Your Magnetic Slime Experience
While plain magnetic slime offers fascinating interactions, you can customize the experience through several modifications. Food coloring can tint the slime, though colored varieties make iron particle movement less visually apparent compared to uncolored versions. Glitter additions provide aesthetic enhancement without compromising magnetic properties. Experimenting with different iron filing quantities adjusts the slime’s magnetic sensitivity—greater iron concentrations produce stronger responses to magnet proximity. Testing various magnet types and configurations reveals how different magnetic field strengths and orientations affect slime behavior. Documenting magnetic slime responses through photography or video captures engaging visual records of the experiments.
Educational Applications and Learning Outcomes
Magnetic slime serves as an effective teaching tool for demonstrating scientific principles in memorable, hands-on formats. Students observe ferromagnetism directly as iron particles respond to magnetic fields within the slime matrix. The project illustrates polymer chemistry principles through the activator-induced transformation of adhesive into slime. Participants explore material properties including elasticity, viscosity, and magnetic responsiveness. Discussion of magnet types, magnetic field strength, and force transmission enhances understanding of physics concepts. The project develops fine motor skills, observation abilities, and scientific reasoning while maintaining engagement through the tactile, interactive nature of the final product.
Frequently Asked Questions About Magnetic Slime
Q: Can I use regular craft magnets instead of neodymium magnets?
A: Standard craft magnets contain insufficient magnetic force for noticeable slime interactions. Neodymium or rare earth magnets produce the dramatic effects characteristic of magnetic slime demonstrations. While regular magnets may generate subtle responses with high iron filing concentrations, dedicated neodymium magnets deliver superior results.
Q: How long does homemade magnetic slime remain usable?
A: Storage longevity depends on storage conditions. Sealed plastic bags or airtight containers extend usable lifespan to several weeks. Slime exposed to air dries and hardens more rapidly. Refrigeration may extend shelf life, though freezing typically compromises texture upon thawing.
Q: Is borax-based slime safer than contact solution slime for young children?
A: Both formulations require proper supervision and handling. Contact solution formulas contain boric acid rather than borax powder but remain substances requiring careful management. Neither formulation should be ingested. Proper handwashing after play remains essential with both varieties.
Q: What happens if I use too much iron filing powder?
A: Excessive iron concentrations create an extremely strong magnetic response but reduce slime elasticity, producing material resembling iron powder suspended in minimal binder. Moderate quantities—typically 1 to 2 tablespoons per batch—balance magnetic responsiveness with desirable tactile properties.
Q: Can I recycle or dispose of magnetic slime safely?
A: Dried slime can be discarded with regular household waste once completely hardened. Never pour slime down drains as it can cause plumbing issues. Iron filings should not enter water systems; allow slime to dry completely before disposal.
References
- How to Make Magnetic Slime With Iron Filings — Instructables. Accessed 2026-04-05. https://www.instructables.com/How-to-Make-Magnetic-Slime-With-Iron-Filings/
- Magnetic Slime Recipe — No Borax Powder Required — Science Buddies. Accessed 2026-04-05. https://www.sciencebuddies.org/stem-activities/magnetic-slime-recipe
- How to Make Magnetic Slime — Frugal Fun For Boys and Girls. Accessed 2026-04-05. https://frugalfun4boys.com/make-magnetic-slime/
- Magnetic Slime DIY for Beginners — KiwiCo. Accessed 2026-04-05. https://www.kiwico.com/diy/stem/crazy-chemistry/magnetic-slime

- Integrated M.A. in Applied Linguistics, University of Hyderabad
- 5+ years in editorial, instructional, SEO, and research-based writing
Sneha is a relationships and lifestyle writer with a strong foundation in applied linguistics and certified training in relationship coaching. She brings over five years of writing experience to theskillvault, crafting thoughtful, research-driven content that empowers readers to build healthier relationships, boost emotional well-being, and embrace holistic living. Her writing and insights reflect the belief that beauty, happiness, and wellness…